I’ve noticed that too and it seems a bit odd. The boards I have which are wet process are made in 20mm boards so the 40mm is two 20s bonded together.
We didn’t do a parging layer but we did make sure the walls were very flat so the fixings hold the wood fibre tight to the existing plaster. We filled any small holes with finishing plaster and big holes with base coat.
Our plasterer is doing the finish coat so I think she will decide what we use. I would guess a lot of finishing plasters are suitable.
These bits have been filled yes. There was quite some patching to do after removing the cornice. Will probably do a second coat before getting the boards on.
I’ve been mixing up nosterfield sand and quicklime 4:1. It’s fairly easy to mix if you’re careful about the heat in generates. Goggles and gloves are a must.
I think that would make for a good parge coat.
I’ve read that some of the NHLs set harder than initially thought so worth bearing in mind. They’re tested at 28 days which is when cement reaches its peak hardness but the NHL gets harder over the years as it carbonates.
1 Like
Are you saying you used gypsum plaster to fill the holes and flatten the wall? Was that for practical reasons or do I missunderstand? Sorry, just a bit confusing as bonding coat and finishing plaster are gypsum based.
Isn’t that defeating the objective of using the woodfibre boards and lime finish?
Sorry for the confusion. When I say finishing plaster I mean a top coat lime plaster with a very fine aggregate.
2 Likes
Hi all,
I have been to Wormesleys again and got myself some 20mm and 40mm boards after trying with the off cuts from Ellis.
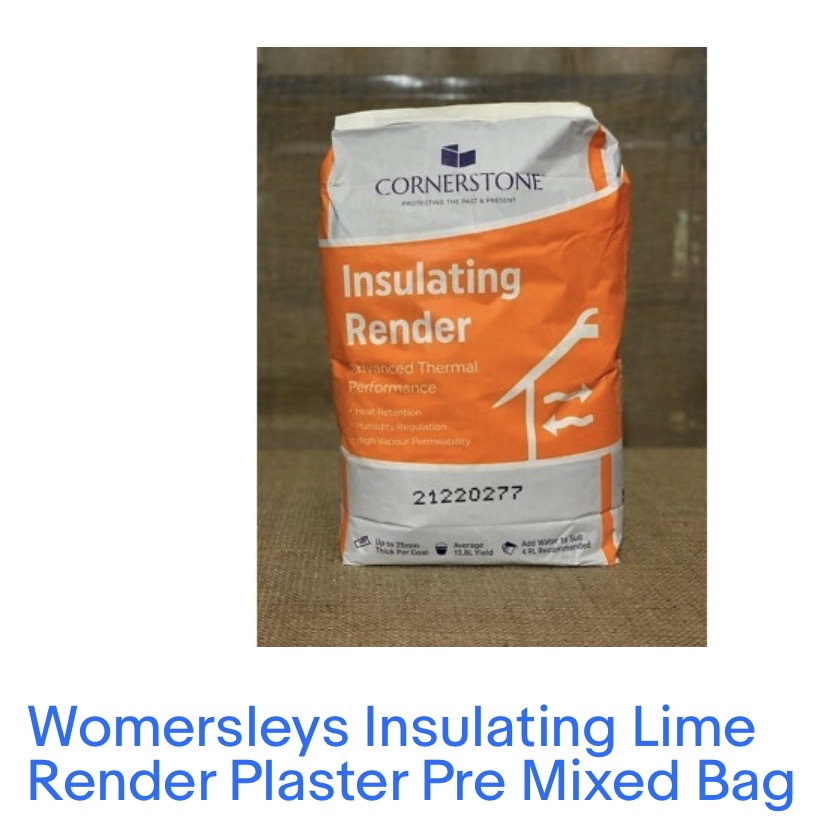
Also bought a bag of Lime Green Duro and Lime Green Solo to try out the Warmshell system.
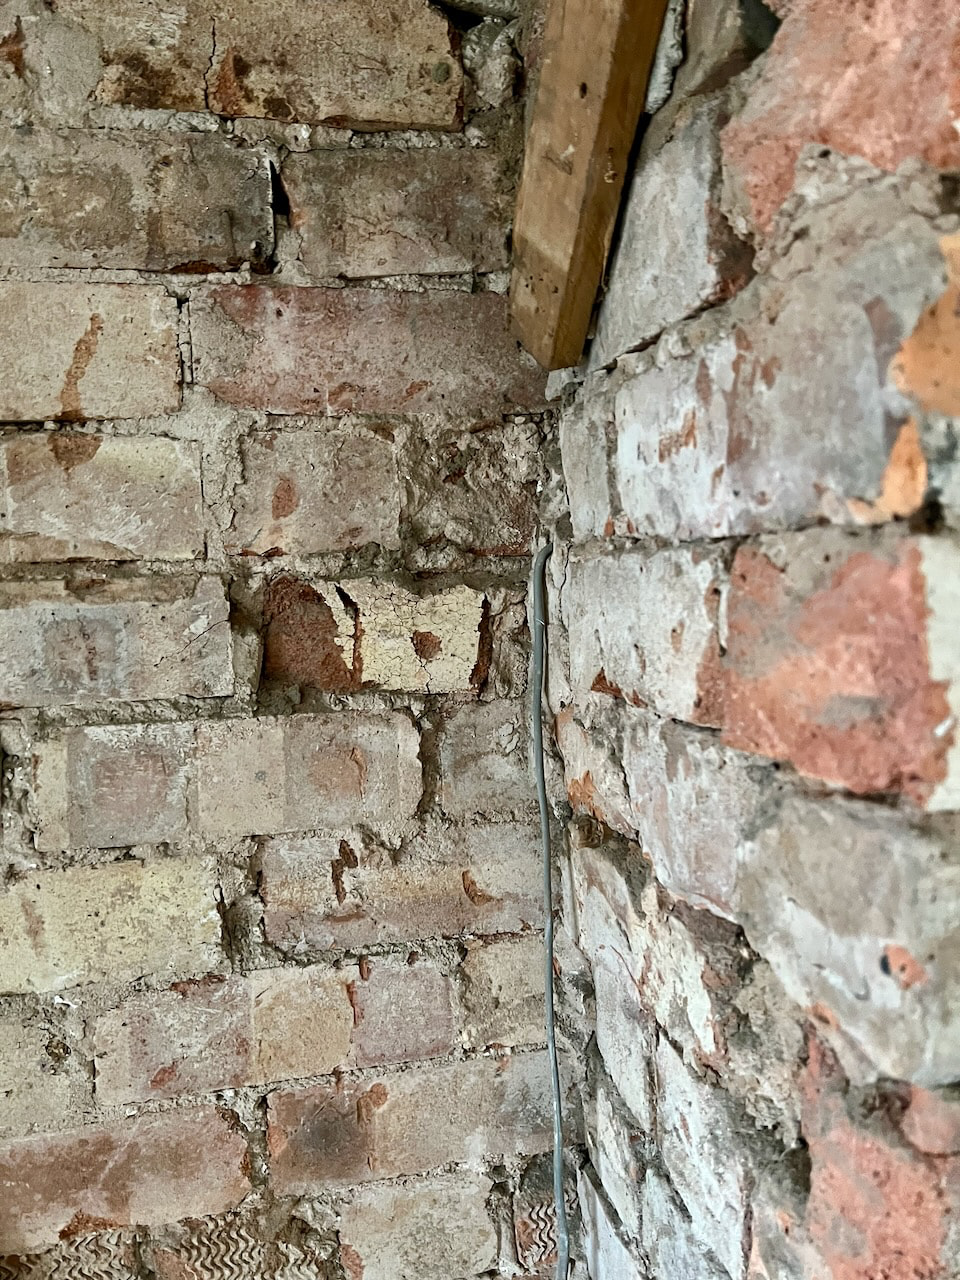
So basically I have now pointed most of the wall with NHL3.5 mortar and the next stage would be parging the wall to level it and make it airtight, for which I am thinking to use Lime Green Duro (Which I think is an NHL3.5 based plaster).
Then to stick the woodfibre boards onto the wall you seemingly have to apply another adhesive (Warmshell Board Adhesive, which is also lime based) and mechanical fixings.
Finally, lime green solo as a finishing plaster applied in two layers, with the first one having a mesh.
Can I ask if anybody here (or in the forum in general) has tried this system or any other woodfibre board system and could potentially advise on practical matters? @Tim_Gilbert @sianrichards55 @School_of_Natural_Bu @pottyone72 @zapaman (Sorry, just tagging a few members that have posted about lime and woodfibre. Hope that is ok and thanks for any advise).
Thank you.
Sorry, no experience here. My walls are as yet uninsulated, apart from the window reveals. I see that someone has beaten me to linking the courses now available. In fact, when I read that thread earlier today I thought of you.
1 Like
It is a can of worms with the lime plastering and woodfibre insulation. A lot of details to think about, but would be great to get to the bottom of it, as I think it is really solving a lot of potential issues i.e. airtightness, moisture, sound insulation and just produces a healthier building. The complexity is there because not many have experience with it and the materials are a bit more costly.
I would be worried now if people do a dot and dab job on these old walls and could imagine that many plasters will just do that. This probably would have been fine draft wise with the old wet plaster approach, as everything is sealed, but dot and dab will make this worse. I really feel a parge layer and some insulation on these old (brittle and soft) external brick walls will make a massive difference to living in these homes.
Apologies for the long saga below. Documenting for my own purposes as much as anything.
We’ve been following, or at least trying to follow, the Mike Wye system. Unfortunately, as with so many imported products, the advice and translated data sheets aren’t always clear.
The internal walls weren’t straight, had lots of holes, and were bulging where fireplaces had been blocked. The people at Mike Wye suggested using SecilTek Reabilita Cal CS for ‘consolidation’ then Cal RB for levelling.
The Cal CS product was not suitable - the plasterer tried it in the first room and said it was trying to apply screed to walls - very coarse, and most fell off! More reading suggested it could be used as a harl coat, probably externally. If doing this again, would probably just fill bigger holes, not sure with what, and not bother with Cal CS.
So in the second room we just went straight in with the Cal RB to level the walls.
But even after the plasterer had done his best, and used up almost twice the amount of plaster required, the contractor fitting the woodfibre found he still needed to apply product #3 SecilTek Isovit Lime to the walls as well as to the back of the insulation boards to get a decent level finish.
We are now approaching the point where the plasterer can come back and apply a basecoat of 6mm Isovit Lime incorporating mesh over the woodfibre, plus a 2mm finishing coat of SecilTek Reabilita Cal AC Fino. But we’re not quite there yet, and how that will go is anybody’s guess at the moment!
Because we had to cut back a bit of the lath and plaster ceiling in order to take insulation and airtightness up between the joist (to later join up with bedrooms above), the ceiling had to be repaired - plasterboard fitted yesterday. And the ceiling will need skimming before the insulated walls are plastered!
We’ve only had to deal with one (upvc double glazed) window - one that hasn’t been replaced - I think we could only get 20mm of woodfibre board into the reveals, but all taped up, and just a little gap between frame and tape to deal with.
But three electrical sockets on cheeks of chimney breasts have been tricky. From brick to woodfibre there’s anything between 10 and 20mm (or even more in one alcove) of lime plaster, then 40mm of woodfibre, then at least 8mm of lime plaster. So anything up to 70mm altogether. The existing sockets were only an inch or two above the old skirting board, so to allow for the extra depth of the wall, the cabling needed to be extended.
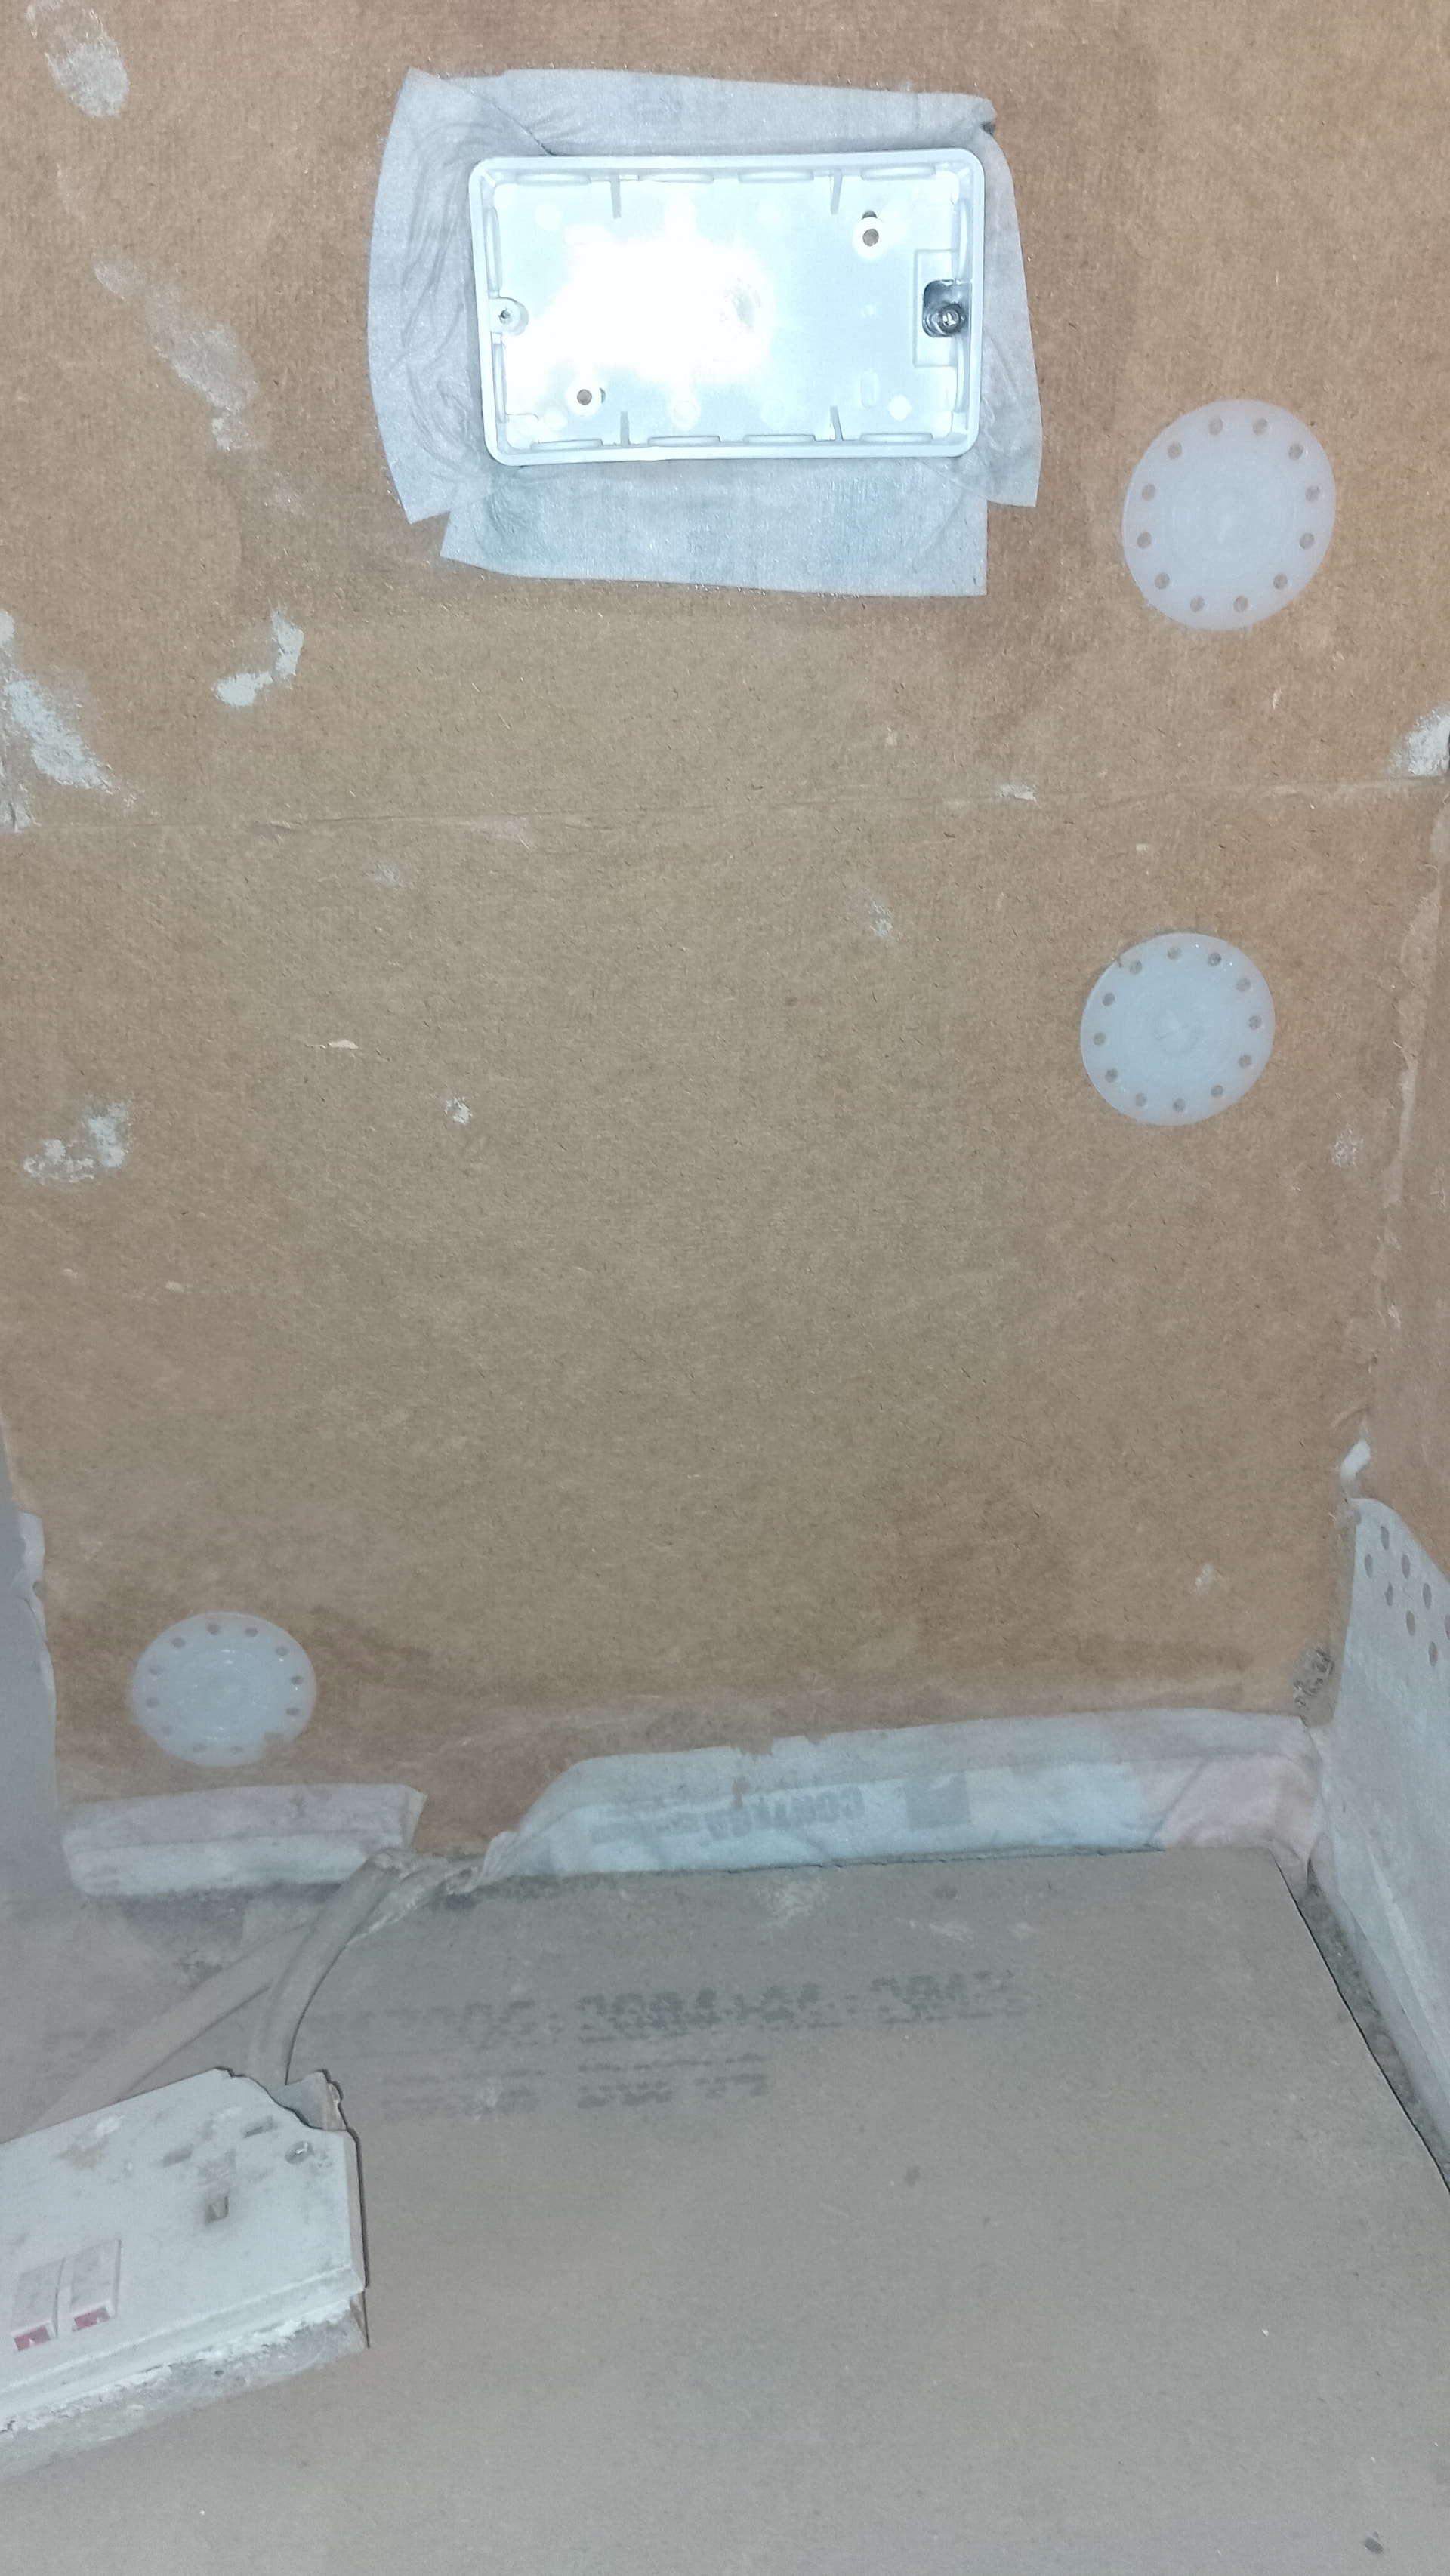
I read in several places that galvanised steel back boxes corrode when in contact with lime plaster, so sourced some polypropelene 35mm deep back boxes not the sort that sit in plasterboard). The (junior) electrician was all for fixing them in place with foam! not appreciating the squishiness of woodfibre board, so sent him away while we had a rethink.
The solution we came up with was to cut a recess in the woodfibre to fit the backbox, and then tape around the backbox before fixing it back to the brick.
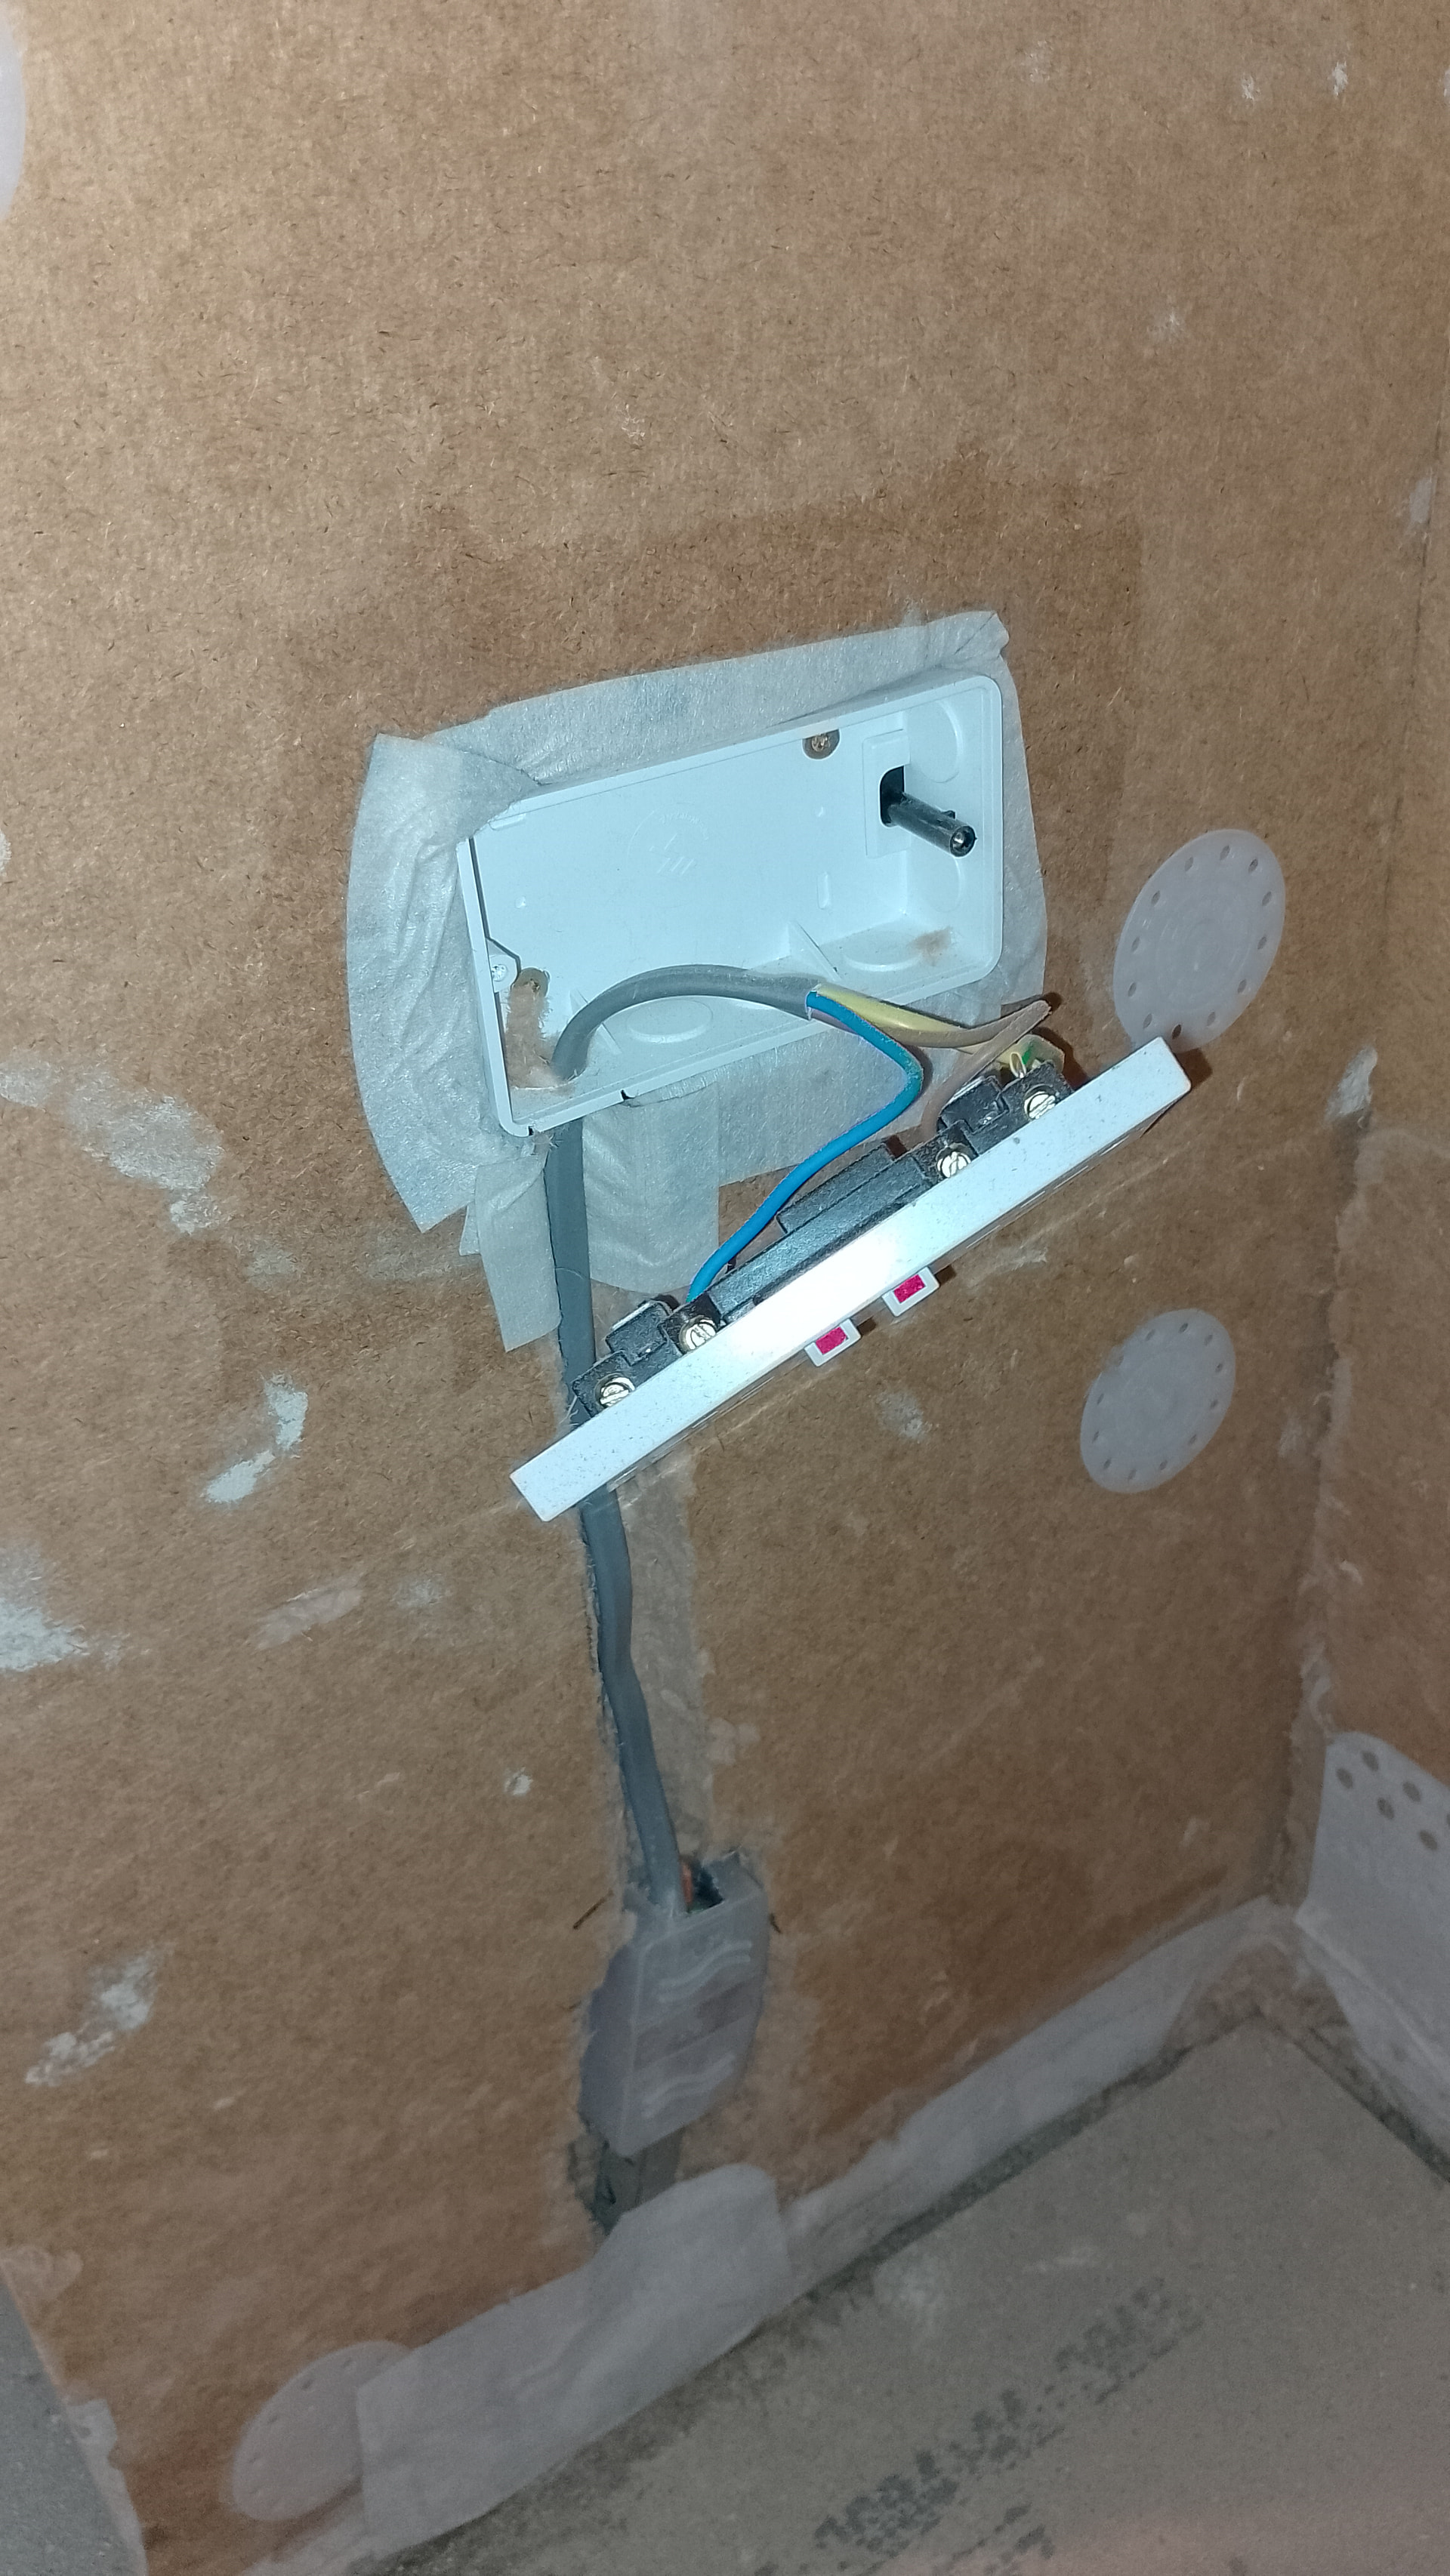
After my contractor had done this the (senior) electrician returned this week and extended the cables - he’s a curious fellow and we had a good chat about the floor insulation build up and how each cable to each socket was taped to the floor airtightness membrane (and possible also to the windtightness membrane beneath it?).
He cut a channel to accommodate cable and new junctions from new backboxes down to the floor. He suggested that the backboxes should be brought further out as they sit flush with the woodfibre and there will be a gap between the backbox and socket face. I think he’s right but it might be too difficult to do anything about that now.
We’ll definitely need to tape over the junctions with plasterable airtightness tape to make sure the lime plaster doesn’t come into contact with wires. And ditto for the backbox/socket.
The electrician also pointed out that smaller cables shouldn’t be embedded in plaster because dampness(?) can cause them to trip RCD(?)s. But as the cables to my sockets were all chunky enough (4mm?) they wouldn’t be affected by any moisture in the walls.
Apparently the ‘how’ of fitting sockets in a woodfibre & lime plaster buildup isn’t really described anywhere…
1 Like
As I mentioned in a post on @pottyone72’s tread about a bedroom, it is best to relocate all sockets from outside walls. If they must stay, then to reduce thermal bridging at least some insulation should be behind the back box and the masonry/stone of the wall.
I would just use lime plaster, possibly with multiple layers. This is what I did with my recent window reveal insulation. In my case I used an insulating plaster and the resultant fill is clearly visible in thermal images.
Thanks Tim.
The sockets are on side of chimney breast and chimney flue filled with Leca clay beads down as far as the new socket loation, so not totally uninsulated even if not much woodfibre behind the backbox.
Yes lots of missed opportunities - rewiring while the floor was up, thinking about extra sockets, repositioning sockets and light switches etc etc
I should have qualified the phrase
“not sure with what flavour of lime plaster”
I have previously spoken to the people at Eden Hot Lime mortar and had some good advice from them. I think they do courses too. I got the impression they tend not to push NHL and sell pre-mixed mortar and plaster in buckets that’s essentially just carefully chosen sands mixed with quicklime. Saying that they do have NHL available to buy if you need it from them.
My feeling is that the parge layer and levelling can be done with any cheap sand and lime mix. I got some from Eden that is nosterfield sand mixed with quicklime and it’s been nice to work with. I have since mixed some up myself and I think it’s a good cost effective way of doing it. If you can get quicklime for about £20 and a bag of sand for £4 then a 4:1 mix works out at about £7.20 per 20kg of render. Premixed stuff from Eden I think is £14.
@Christian_Unger , I think whatever you decide to use, getting a parge layer on there will help consolidate the soft brick and will help a lot keeping things together.
I’ve also heard of people using a standard lime render like this for adhering the boards, perhaps with something added to give it a hydraulic set. I have used wood ash for creating this hydraulic set. This makes sense to me because I think the fixings are doing the bulk of the work and the adhesive is largely there to make good contact between the wood fibre and the wall. Some people go don’t use an adhesive plaster and just use the fixings with good results. We’ve done this in some areas but I am adhering the boards around the window because the pillars aren’t strong and I’m cautious about putting fixings in there. I’m going to box in the window reveals with wood which will add a lot of the structure.
Some interesting thoughts about the back boxes. I’ve been having a think about back boxes and wiring. Think I will chisel out a section of the wood fibre to fit the back boxes and also channels for the cables. Think I’ll try to use 25mm back boxes and have them stick out a bit from the boards so the finishing plaster will be flush or slightly proud of the back boxes so probably going to take 20mm out of the 60mm boards where the back boxes need to go. In terms of fixing them, I’ve heard that adhesive is an option. I’m contemplating using the lightweight sprial fixings straight into the wood fibre to secure the back boxes, perhaps with some adhesive too but I need to be confident they’re not going to come out because a back box departing a wall is not a good look. A lot of people seem to recommend long screws through to the wall behind it seems but there’s obvious thermal bridging there. Less so if you have plastic back boxes I suppose.
I hadn’t heard about the reaction between lime and the metal boxes so I’m going to investigate that a bit more. Also, I don’t understand why cables can’t be embedded in plaster, that’s not something I had heard before. My current understanding is that the use of conduit is generally there for mechanical protection from plastering tools but cables are ok embedded in the wall and I hadn’t heard there was anything different with lime. Conduit is good practice I think but not essential. I’m keen to know if I’m wrong there.
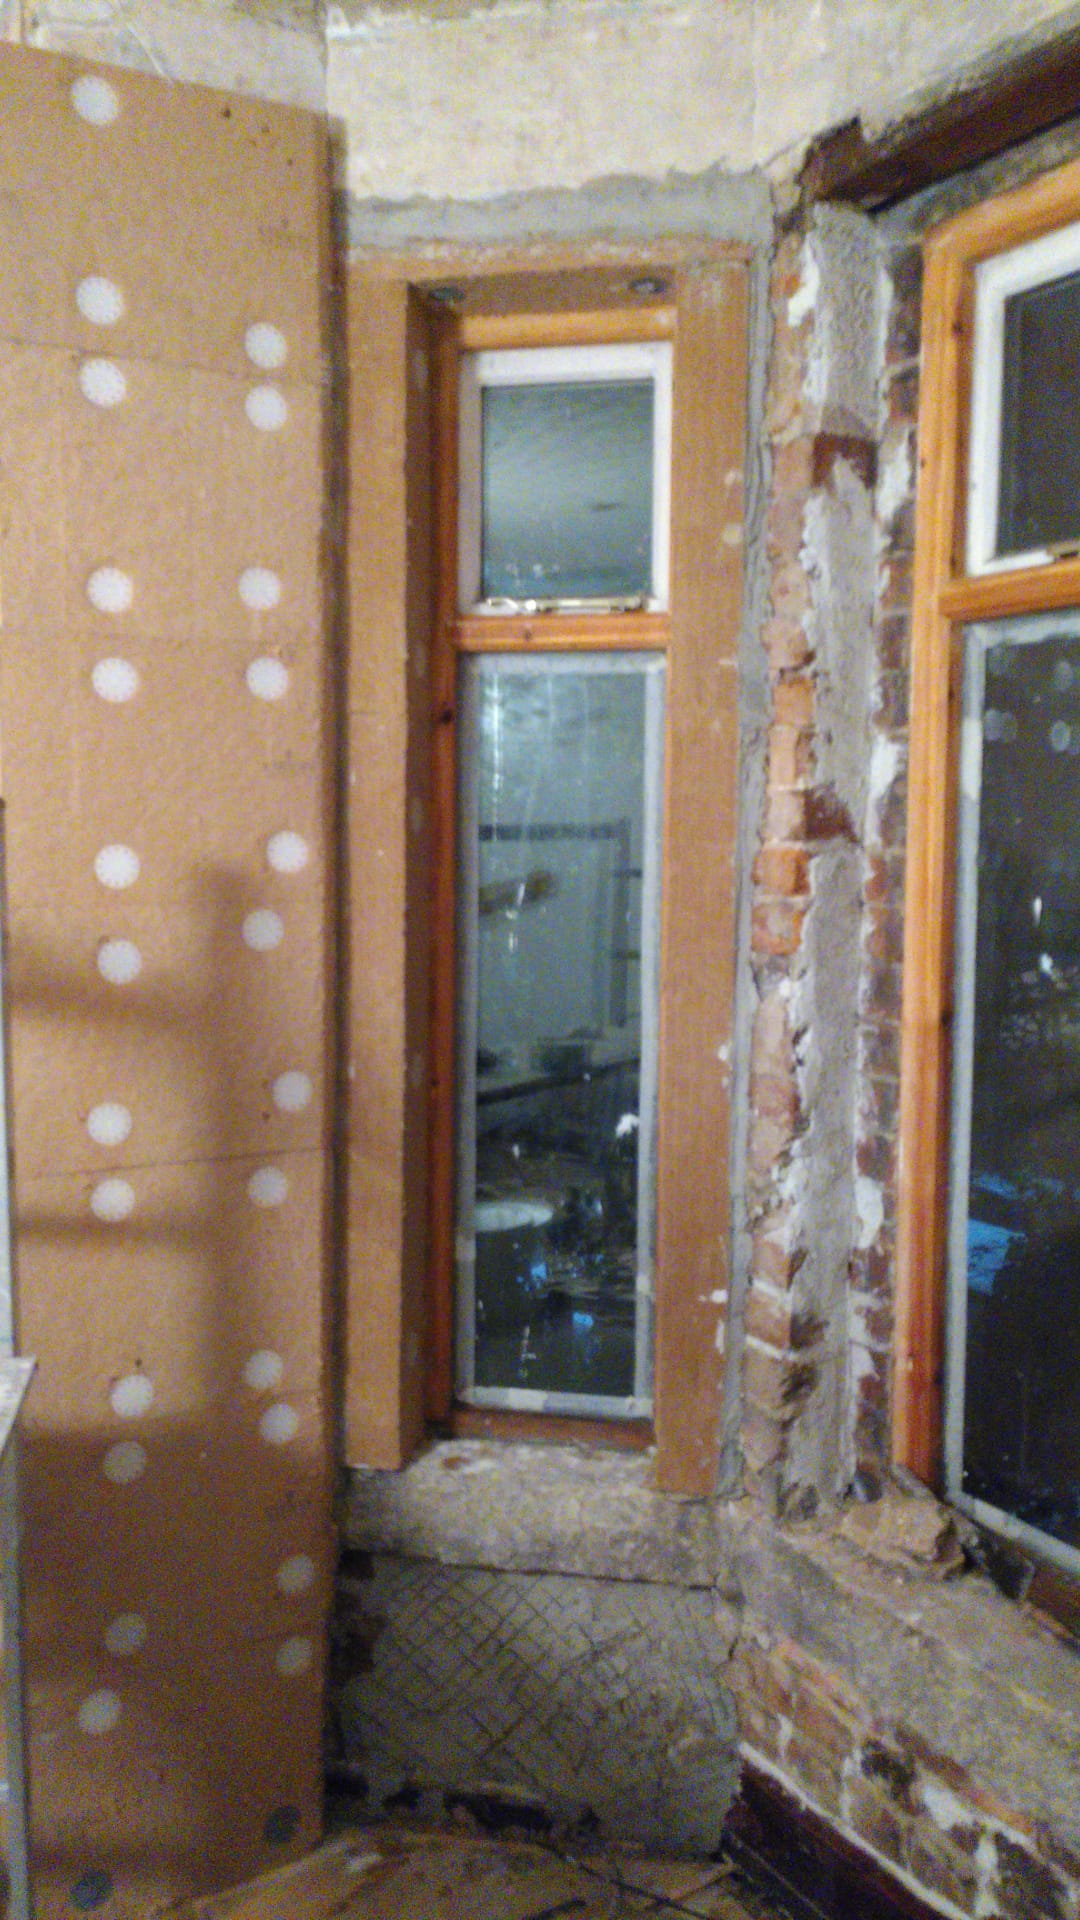
Picture of progress around the windows
1 Like
@sianrichards55 , which are the back boxes you used? These are the ones I’ve found that are PVC and look suitable although they’re a lot more expensive that conventional back boxes…
2 Likes
Wow. Great feedback @sianrichards55 and @ellis.barnwell you are both a little ahead of me, as I am still playing with pointing holes in the wall and planning ahead for the next steps of parging followed by wood fibre and a final lime plaster.
Thanks for sharing and please do not hesitate to share the questions or problems. I was wondering about the electrics as well, and I thought maybe some conduit would be great anyway, but now definitely a PVC variant considering the potential reaction with lime. I thought to put it on bare brick, so before the parge rather than within the woodfibre.
Considering your experiences I will probably ask my electrician not to put any back boxes yet and then just do a cut out in the wood fibre boards. Let me know if you find a good back box that works! Since the plater and woodfibre built up will be at least 40mm and some areas at least 60mm it definitely seems best to place the back boxes within the woodfibre layer and on top of the parge layer.
In terms of the parge, I will try Lime Green Duro as a a ready mix. I would consider my own mix, but then I also need a drum mixer and I am not sure if that will pay back. Having said that, I will probably have to do a significant area (~50sqm) so it may be worth it making my own mix. It is a bit borderline and I am not sure how much any additives will help with doing the parge myself and prevent beginners troubles.
Anyway, great to hear from you fellow lime plasterers and let’s figure this out together! At the end it will all be worth it. ![]()
1 Like
Hi Ellis, I think cables should be fine if they have a PVC wrapper. At least that would make sense to me as long as nobody damages the wire insulation. I wonder if it is dangerous and electrifies the whole wall if you damage a wire and the lime or woodfibre is carrying moisture… I am probably overthinking this… anyway some conduit should be best practice and allow for more safety.
Nice progress around the windows!
1 Like
Very useful information about the lime types. The SecilTek Reabiilita Cal RB sound like a good option and it is quite a bit cheaper than the Lime Green Duro although it looks like a very similar NHL type lime for the parging.
Why did he have to use almost twice of the amount of plaster expected? Was that due to the uneven walls? Looking at my walls, I have a feeling a 10mm layer may not be enough to level it so I can see that amounts could be higher.
The SecilTek Isovit also seems a bit more cost effective than the Lime Green Solo and do a similar thing.
What fixings do you use for the woodfibre boards and do you use some bonding as well?
As I commented about the wiring to Ellis already, I can only say thank you for sharing your thoughts. Yes, definitely do not use galvanised steel directly in contact with the lime plaster. I read the same, but while you can potentially tape it or buy some protection paints to ensure it is not degrading over time buying a PVC back box. Interesting thought about the RCD effect in lime plaster… again, strengthens my view of using plastic conduit where possible.
Seems like we are exploring new ground here, although there must be some experts out there who have it figured out. Oh well…
1 Like
These were the ones I used. They are more expensive but I only needed 3 and went and picked them up myself, so avoided the £5.95 delivery charge ![]() .
.