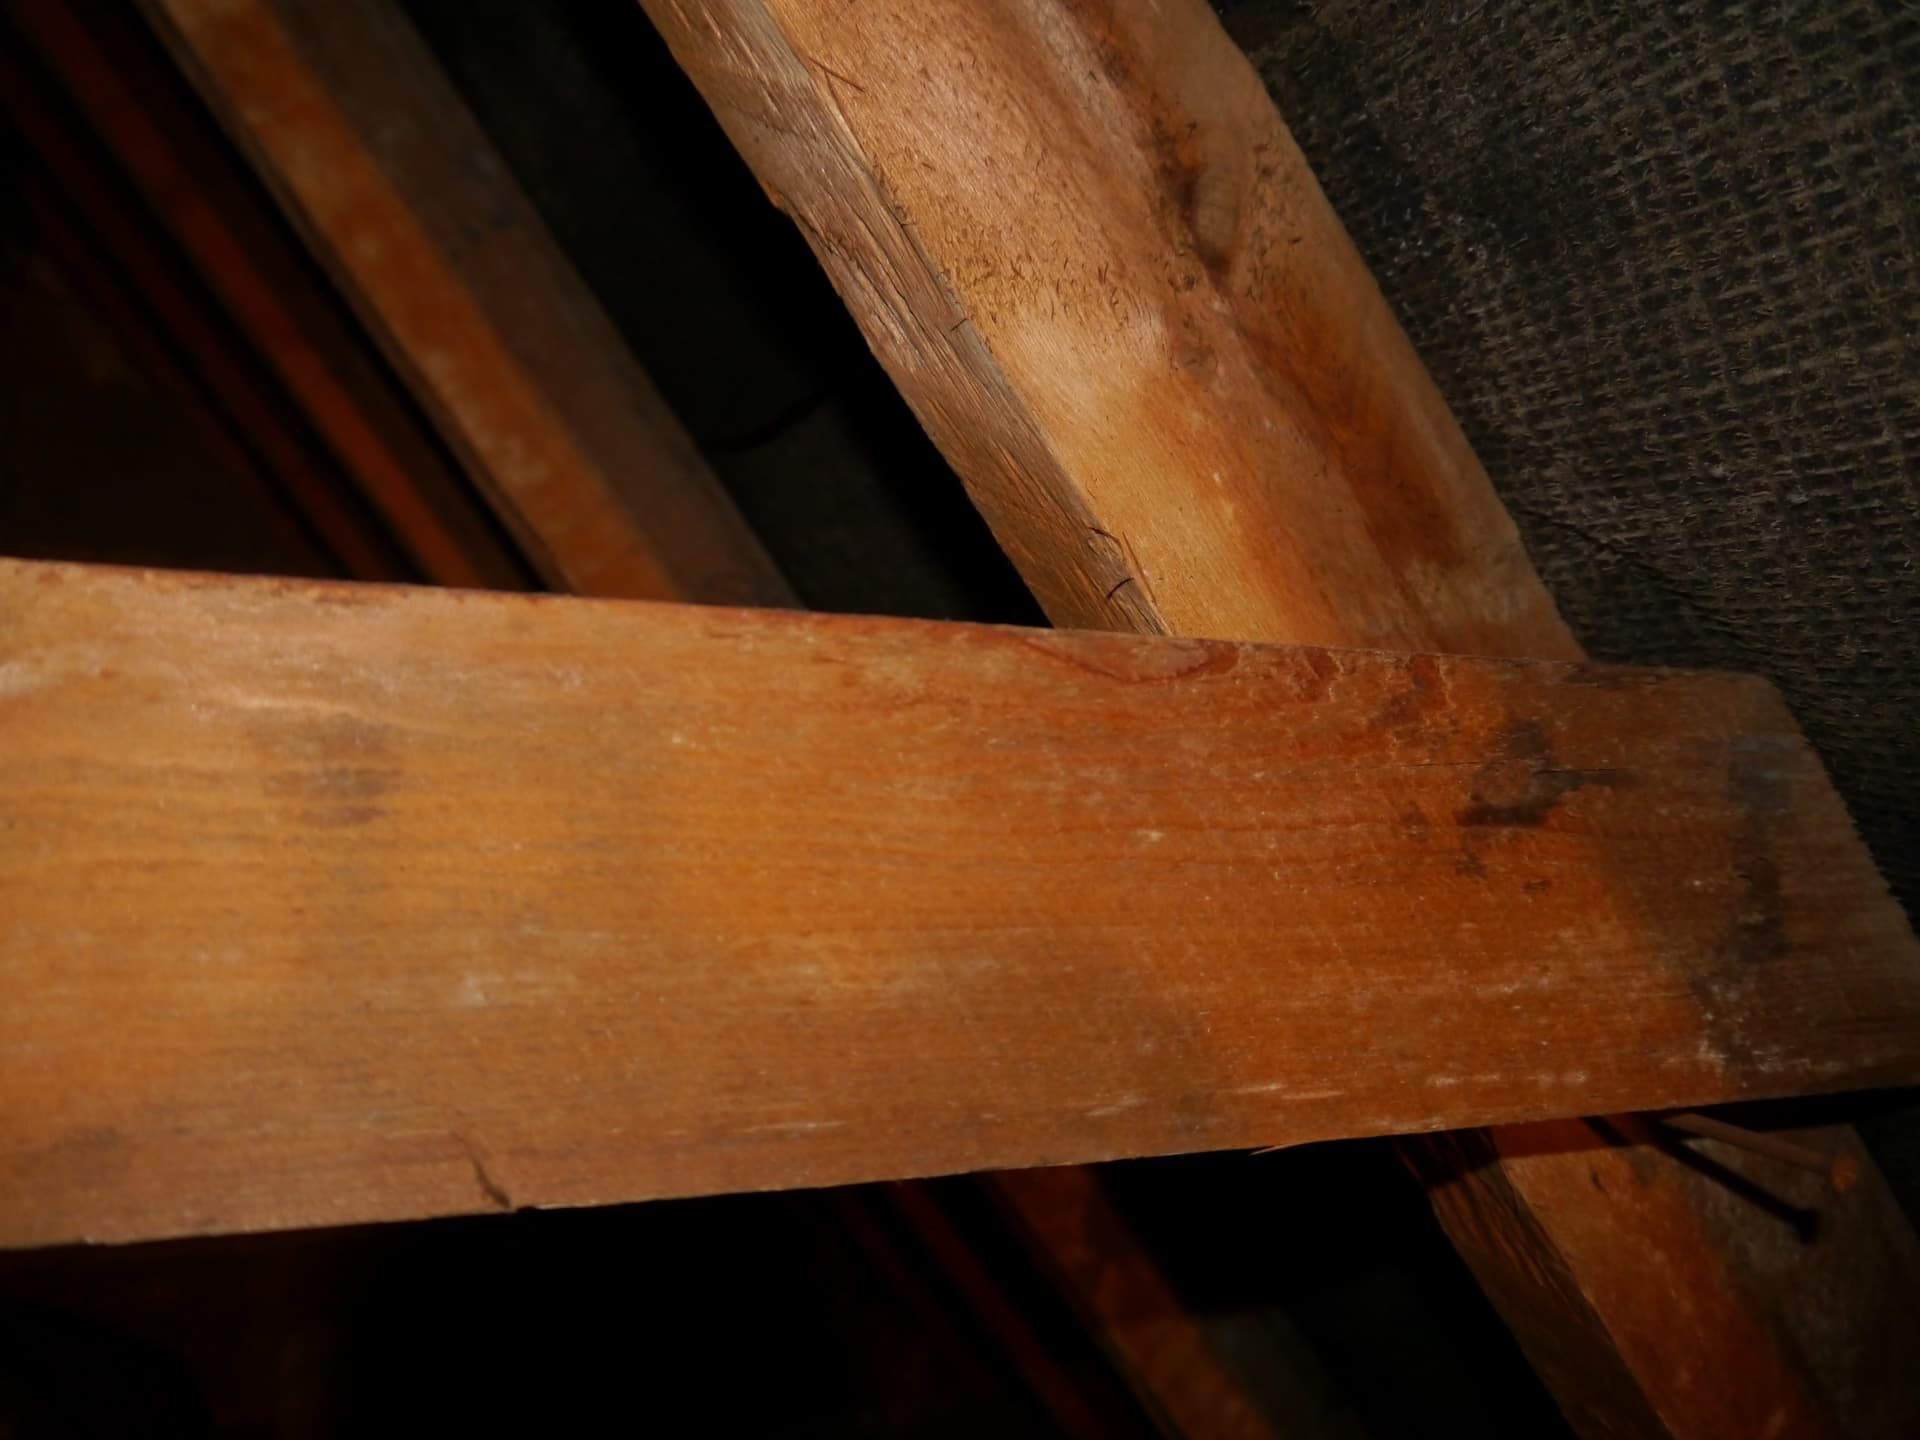
Same joist but higher up to the ridge.
Referring to @lloydham’s earlier post, you definitely need to read @pottyone72’s topic,
As an extra note you need the extract duct to rise vertically and then descend without interruption to the exit vent. That way moisture will either leave the building or fall back into the bathroom. You definitely don’t want water collecting in it. The whole structure needs to be insulated, of course.
Should i use rigid ducting for the extractor?
Also is there a good cover for the spotlights? One I have found is thermahood.
Rigid ducting avoids the sagging between hoops so would be a good idea. Also, there is ready insulated ducting available, which would be helpful if you need to go above the loft insulation. Having said that do try to keep within the thermal envelope.
Any fire hood would do if taped down with airtightness tape, however you will also need to seal where the flex penetrates the hood. Certified Passivhaus hoods are also available.
In the “old days” sealing the spot lights caused an overheating problem but with LEDs that is no longer the case.
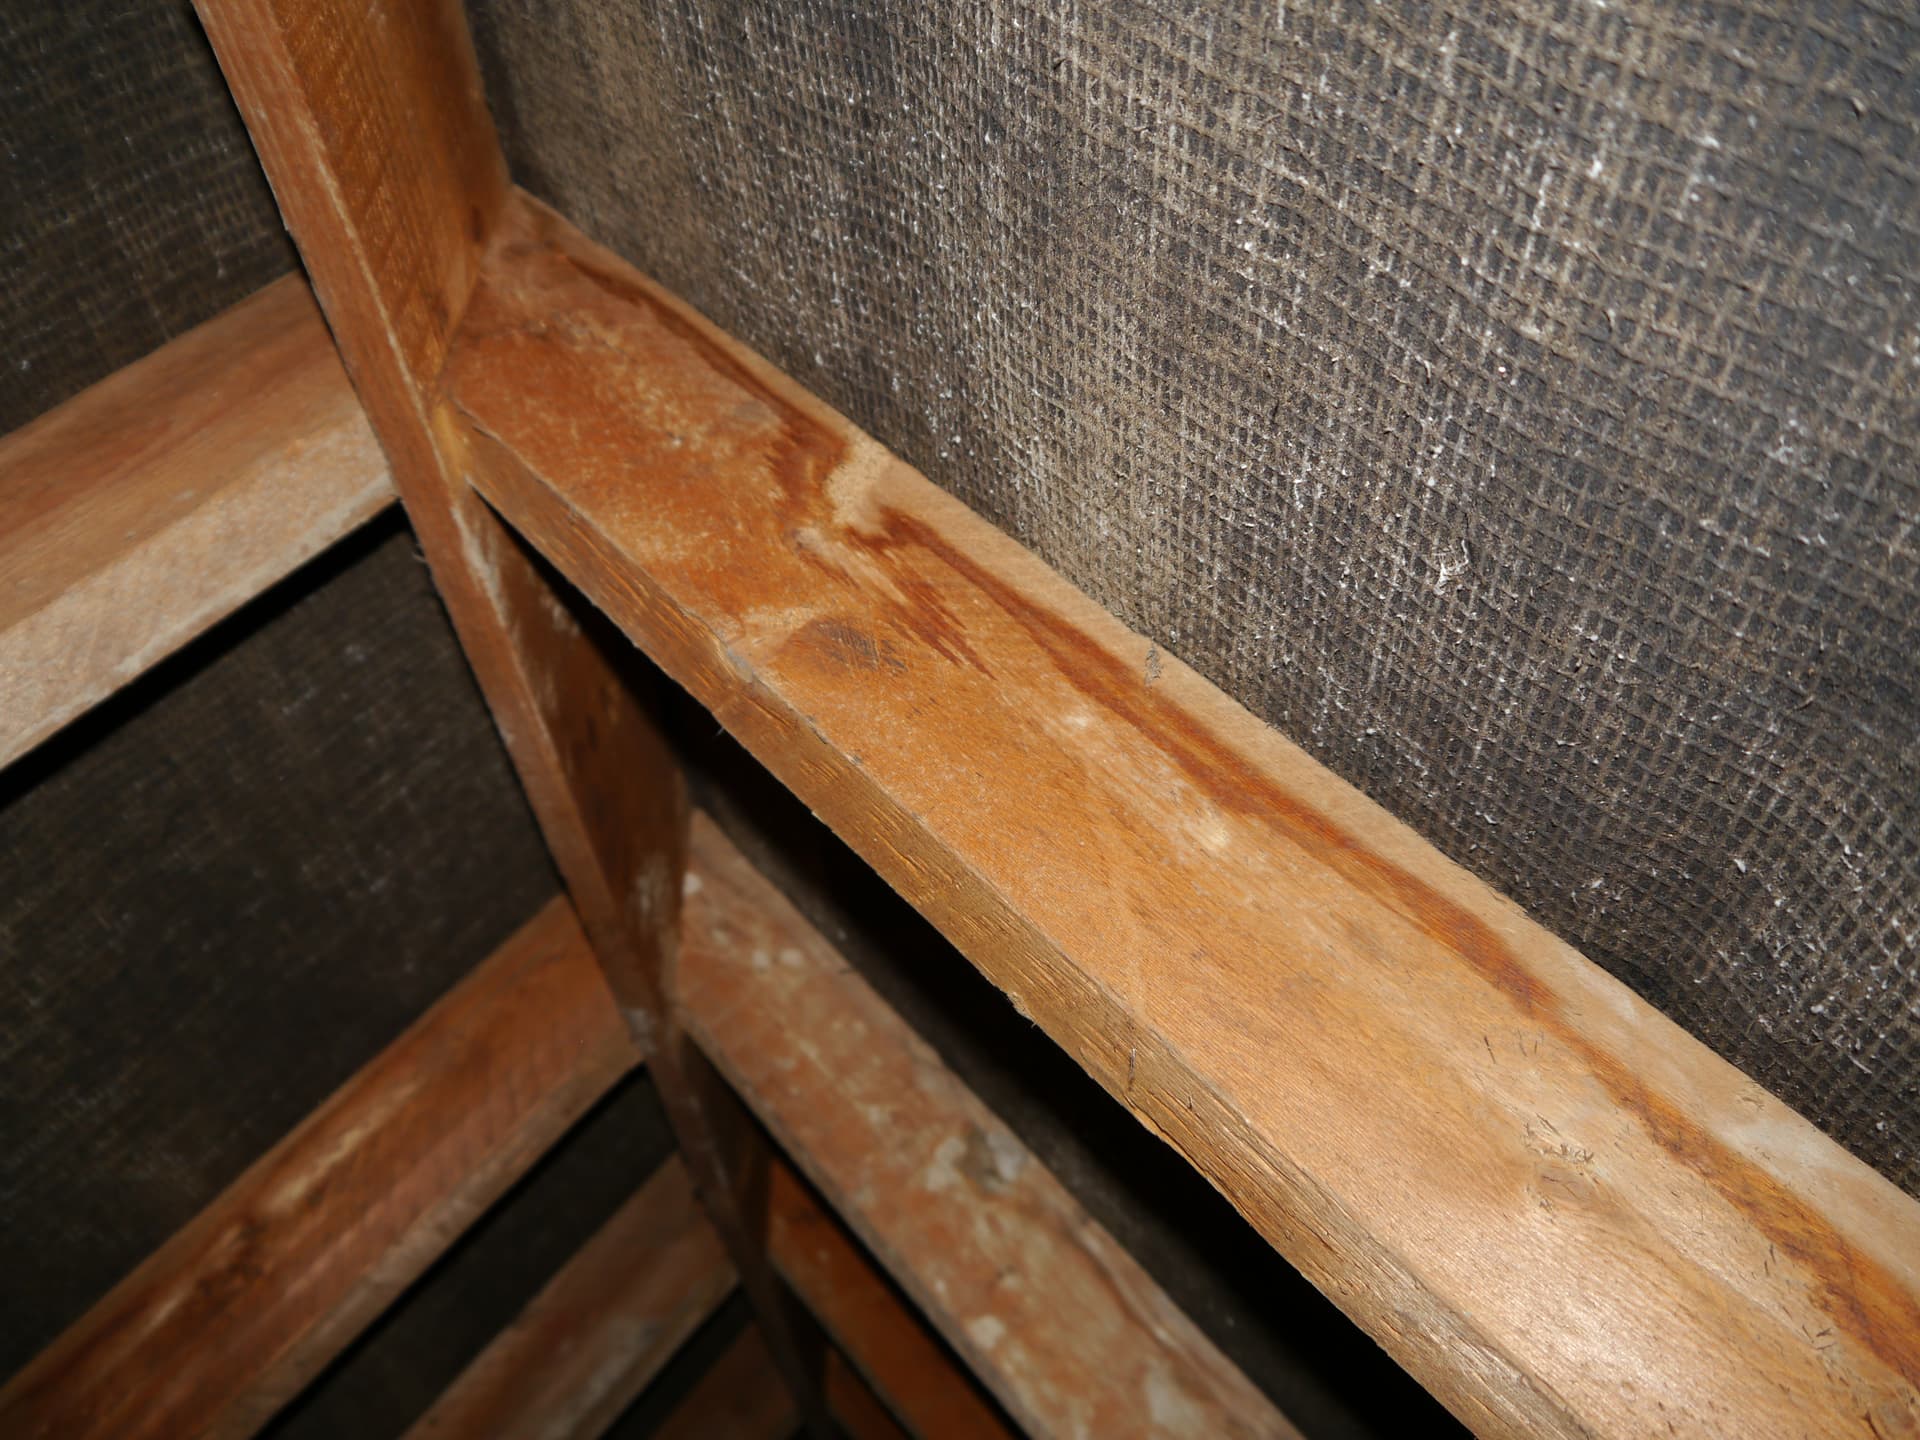
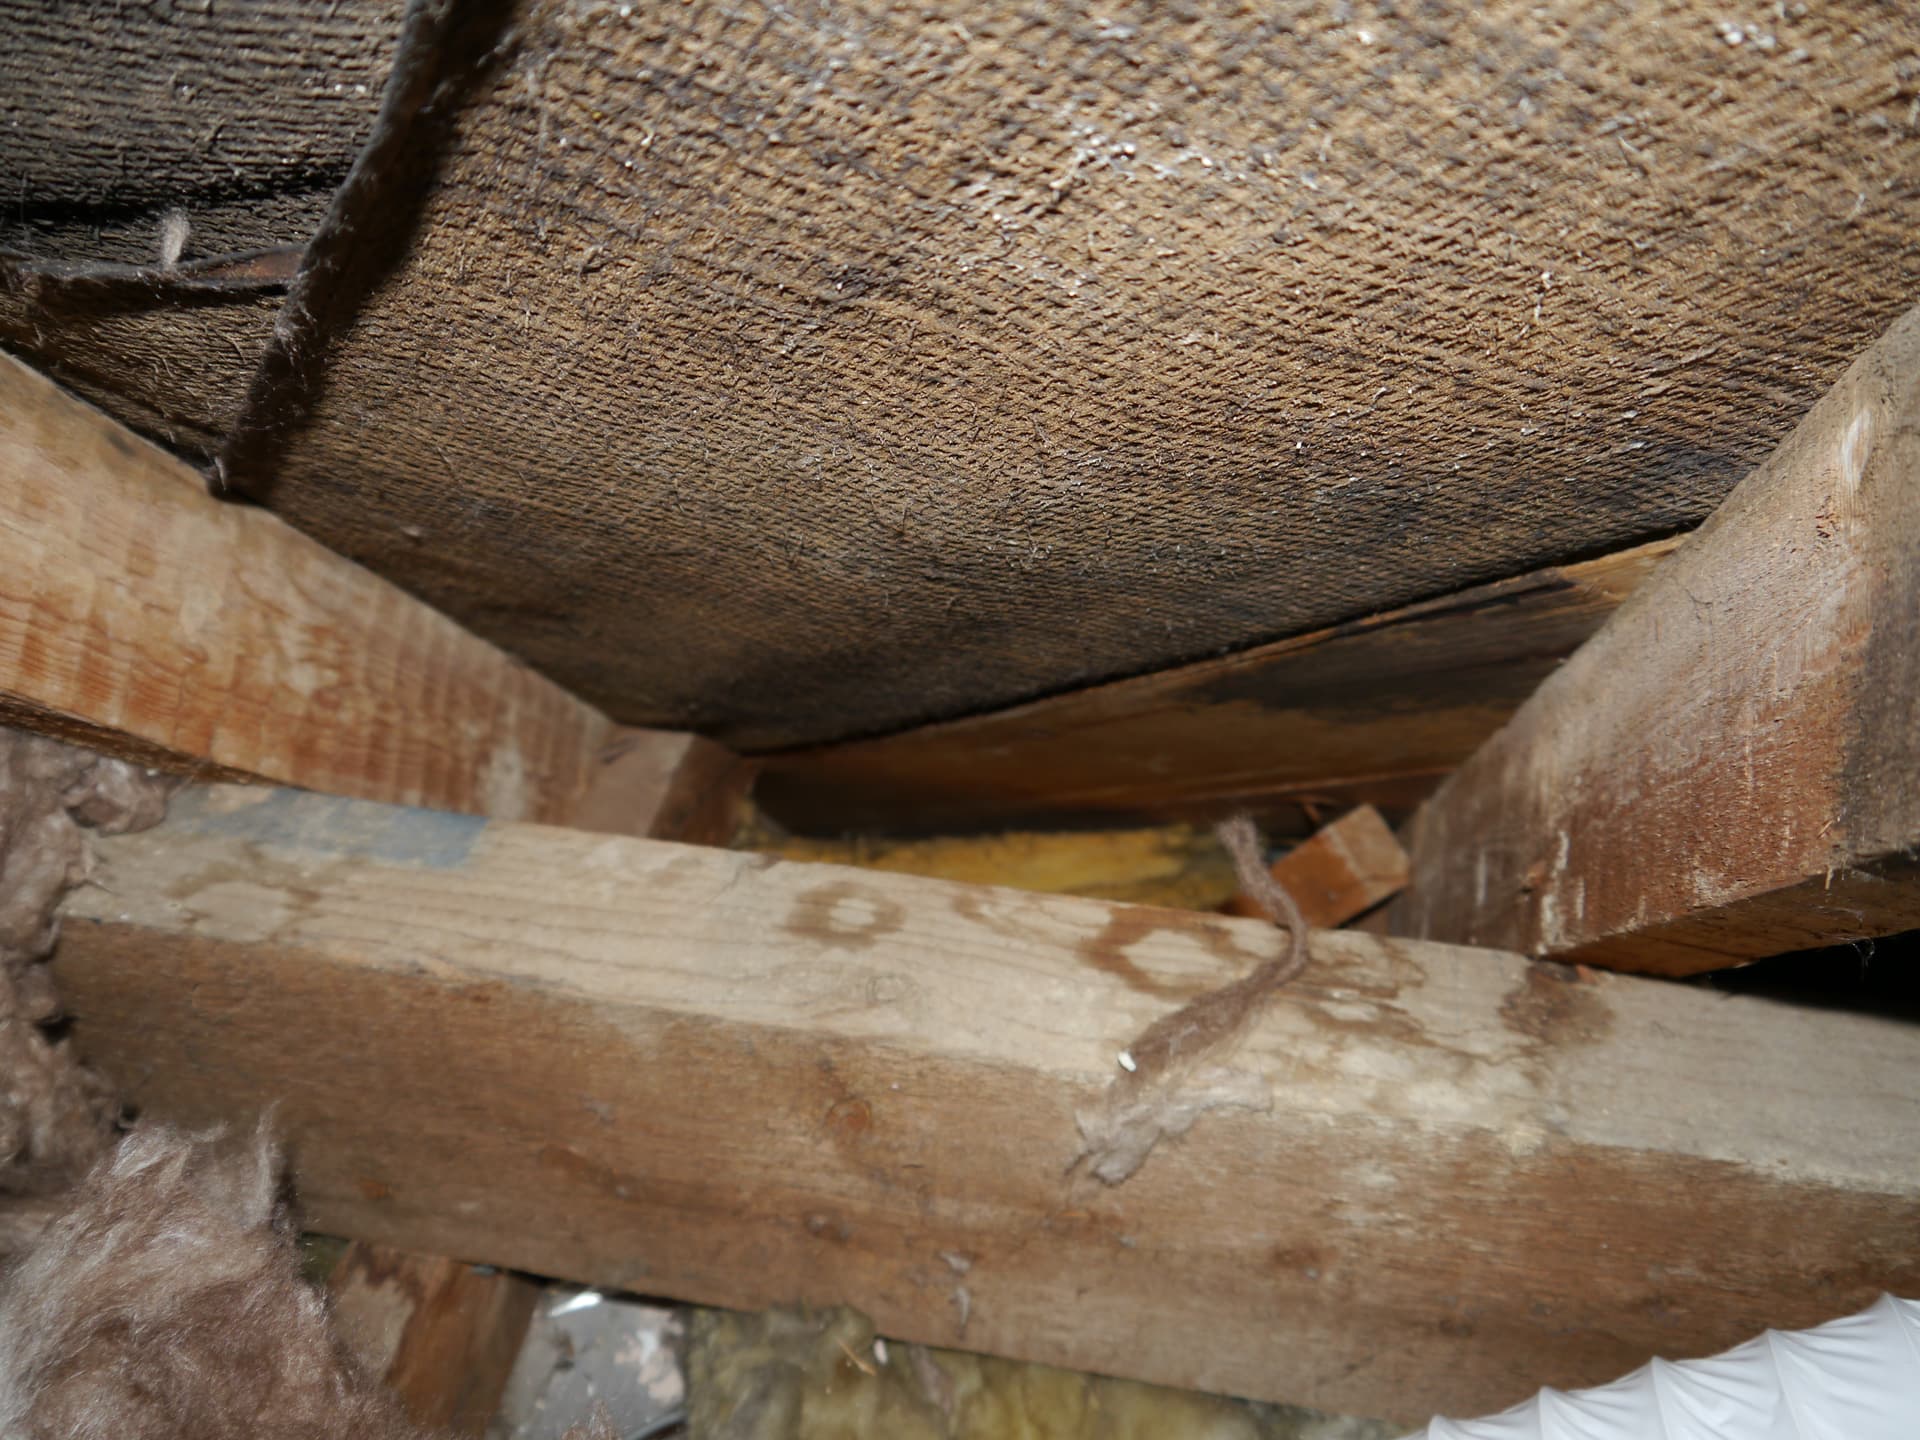
Reviewing your photos it looks as though you have old fashioned roofing felt. I realise that the only convenient time to change to breather membrane is when replacing the roof but do bear it in mind. It may be possible to add vents into the felt. The purpose of these changes is to dissipate any humidity getting into the roof.
If you are in a bat area please don’t use regular breather membrane as they get caught in the fibres. There are non fibrous alternatives.
The house appears to have ridge vents but I can’t see how they ventilate the loft area. I don’t think we would be replacing the roof anytime soon, is it worth putting a vent in the wall to the loft? A similar house to ours across the road has an extension and has an airbrick in the wall.
We do have bats in the area, so good point about membranes.
About the light hoods, do I place it onto the foil backed plasterboard and then tape down?
Yes. Clean the foil and let it dry, then, preferably using airtightness tape, fix the hood down all the way round. While at it, use tape in a similar way to seal any visible joins between foiled boards. Once done, replace the insulation over the lamp.
Mentioning the foil reminds me of the areas without foil. These need vapourproofing. Temporarily remove the insulation and either fix vapour barrier membrane over the area, taping to adjacent foil, or paint with Blowerproof or similar liquid applied membrane. If you choose the latter be sure to overlap the adjacent foil/timber.
Is there any benefit in replacing the old 1987 fibreglass insulation that is currently in between the wood joists? If I am to vapour proof the plasterboard that hasn’t got foil on I will have to lift up the existing insulation. I topped up the insulation with Knauf spaceblanket 12 years ago.
If the glass fibre seems clean and in good condition you can reuse it and then top up but if it isn’t in almost new condition it might be worth replacing.
In either case, after all other work is done, top up insulation to joist height and then put a new layer across the joists so that the joists themselves don’t become your cold bridges. The total depth should be 200 - 300 mm. once you are up there you may as well go the whole hog. Remember to taper the insulation into the slope of the roof, trying to cover the top of the walls at the same time. This gives continuity of insulation with the cavity wall.
Regarding the use of blowerproof liquid, is that just on the plasterboard edges, or all over?
I am just thinking about the amount required. I think the loft structure is too complicated to apply a membrane over the top of the joists and solid internal walls.
I agree that if the roof generally is similar to your photos you would almost need to dismantle it to fit a membrane.
As a minimum, all joints should be sealed, although directly applying airtightness tape could be used for that too, particularly if you don’t mind cutting yourself repeatedly with a Stanley knife (as described by pottyone72). Ideally all surfaces to your thermal envelope should be rendered airtight and that is where the Blowerproof (other makes exist) comes into its own, particularly if there are awkward angles, as in your roof. While you are at it, rather than stopping above the bathroom walls, overlap by a good margin to minimise air penetrating at an angle. Some time, when you are ready, you can do the rest of the roof.
This is the old insulation, it seems dense compared to the new material. So I will replace when the weather is warmer to avoid condensation on the ceiling.
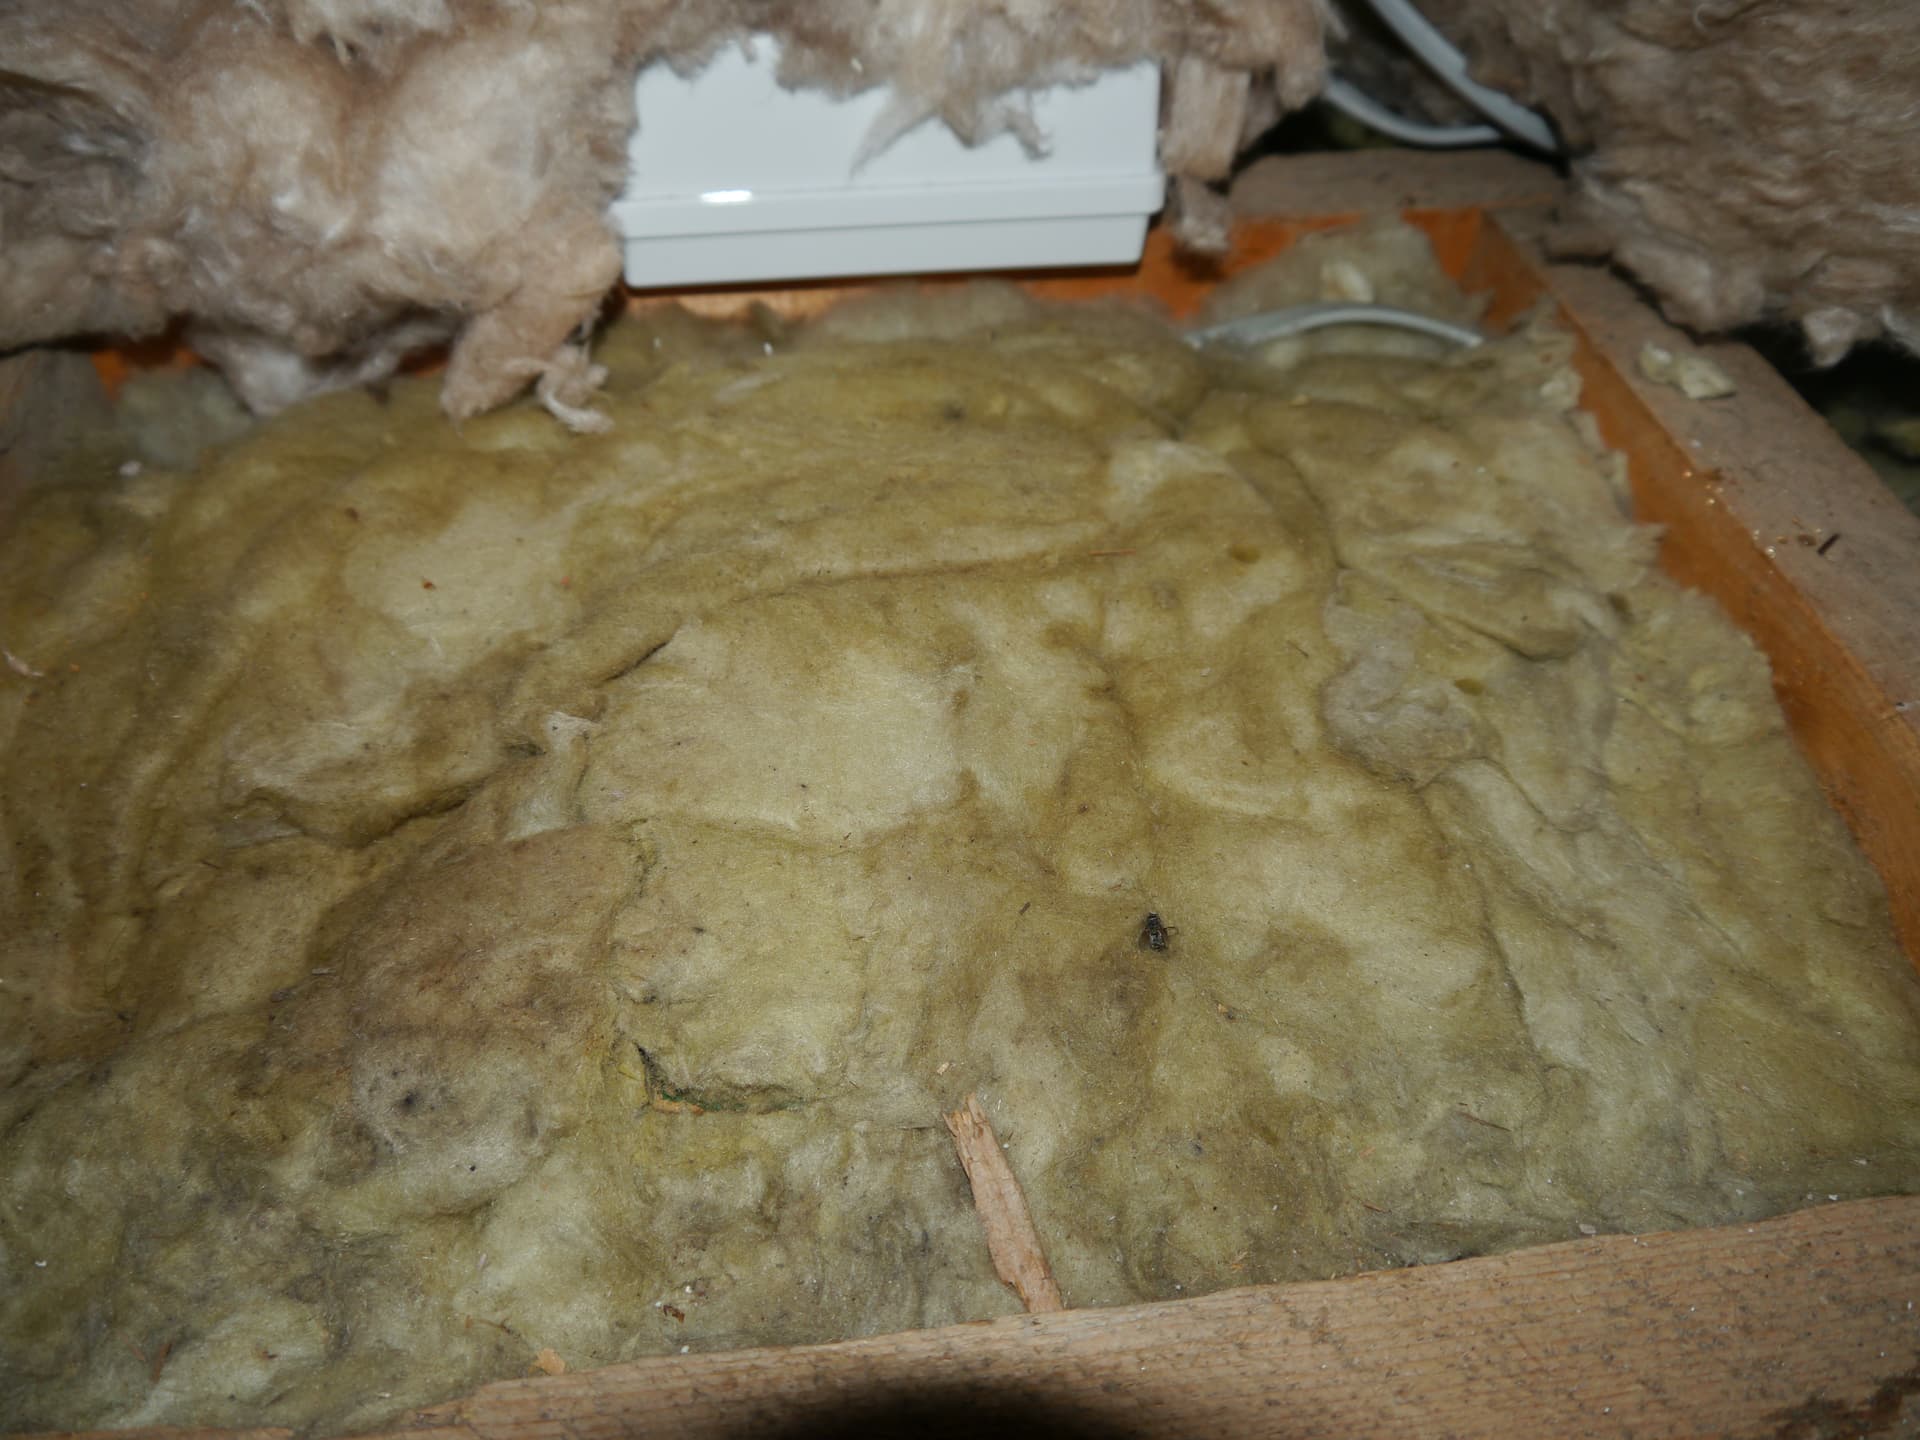
The insulation looks better than in a typical home but as you point out it is the density that counts. I think you are right to change it and to sort out a vapour barrier at the same time.
I have a few questions I want to bottom out as we may be tackling the areas soon. I am going to post them one at a time.
- You mention tape the foil backed plasterboard, would the tape be normal plasterboard tape or an air tightness tape? If air tightness, is there any suitable for plastering over?
If you are able to tape the foil faces then use airtightness tape. Air can permeate around tape on the front face so expensive tape may be a waste, however 2cm of plaster is normally considered airtight so you could use a wide enough airtightness tape you would get a more air proof join, but for a price. Depending on how you are going ahead it may be possible to tape the backs of all but the last section of board.
Virtually any tape can be plastered over but I presume you just want to add a skim coat and all airtightness tapes I know are a bit thick to give a reliable smooth non-crack finish without using bonding first.
- After topping up any accessible wall cavity, what do we use to seal it off? I would have thought cement would act as a thermal bridge.
You should aim for a continuous layer of insulation from wall to roof. In that situation your “cap” is the end of the loft insulation (with slight overlap of the brick to allow for future movement). If that isn’t possible then cap with a strip of rigid insulation board the width of the accessible wall, plus a small margin, as above.
@Steven_Draper, I like the one question one answer approach you are using. It helps avoid ambiguity and makes the thread much clearer for anyone looking for answers to their own issues in the future.
@Tim_Gilbert thanks for the feedback.
- The space in the bathroom I want to insulate has the chipboard floor as its base. Do i need to make that airtight? I would think taped joints would be the minimum requirement.