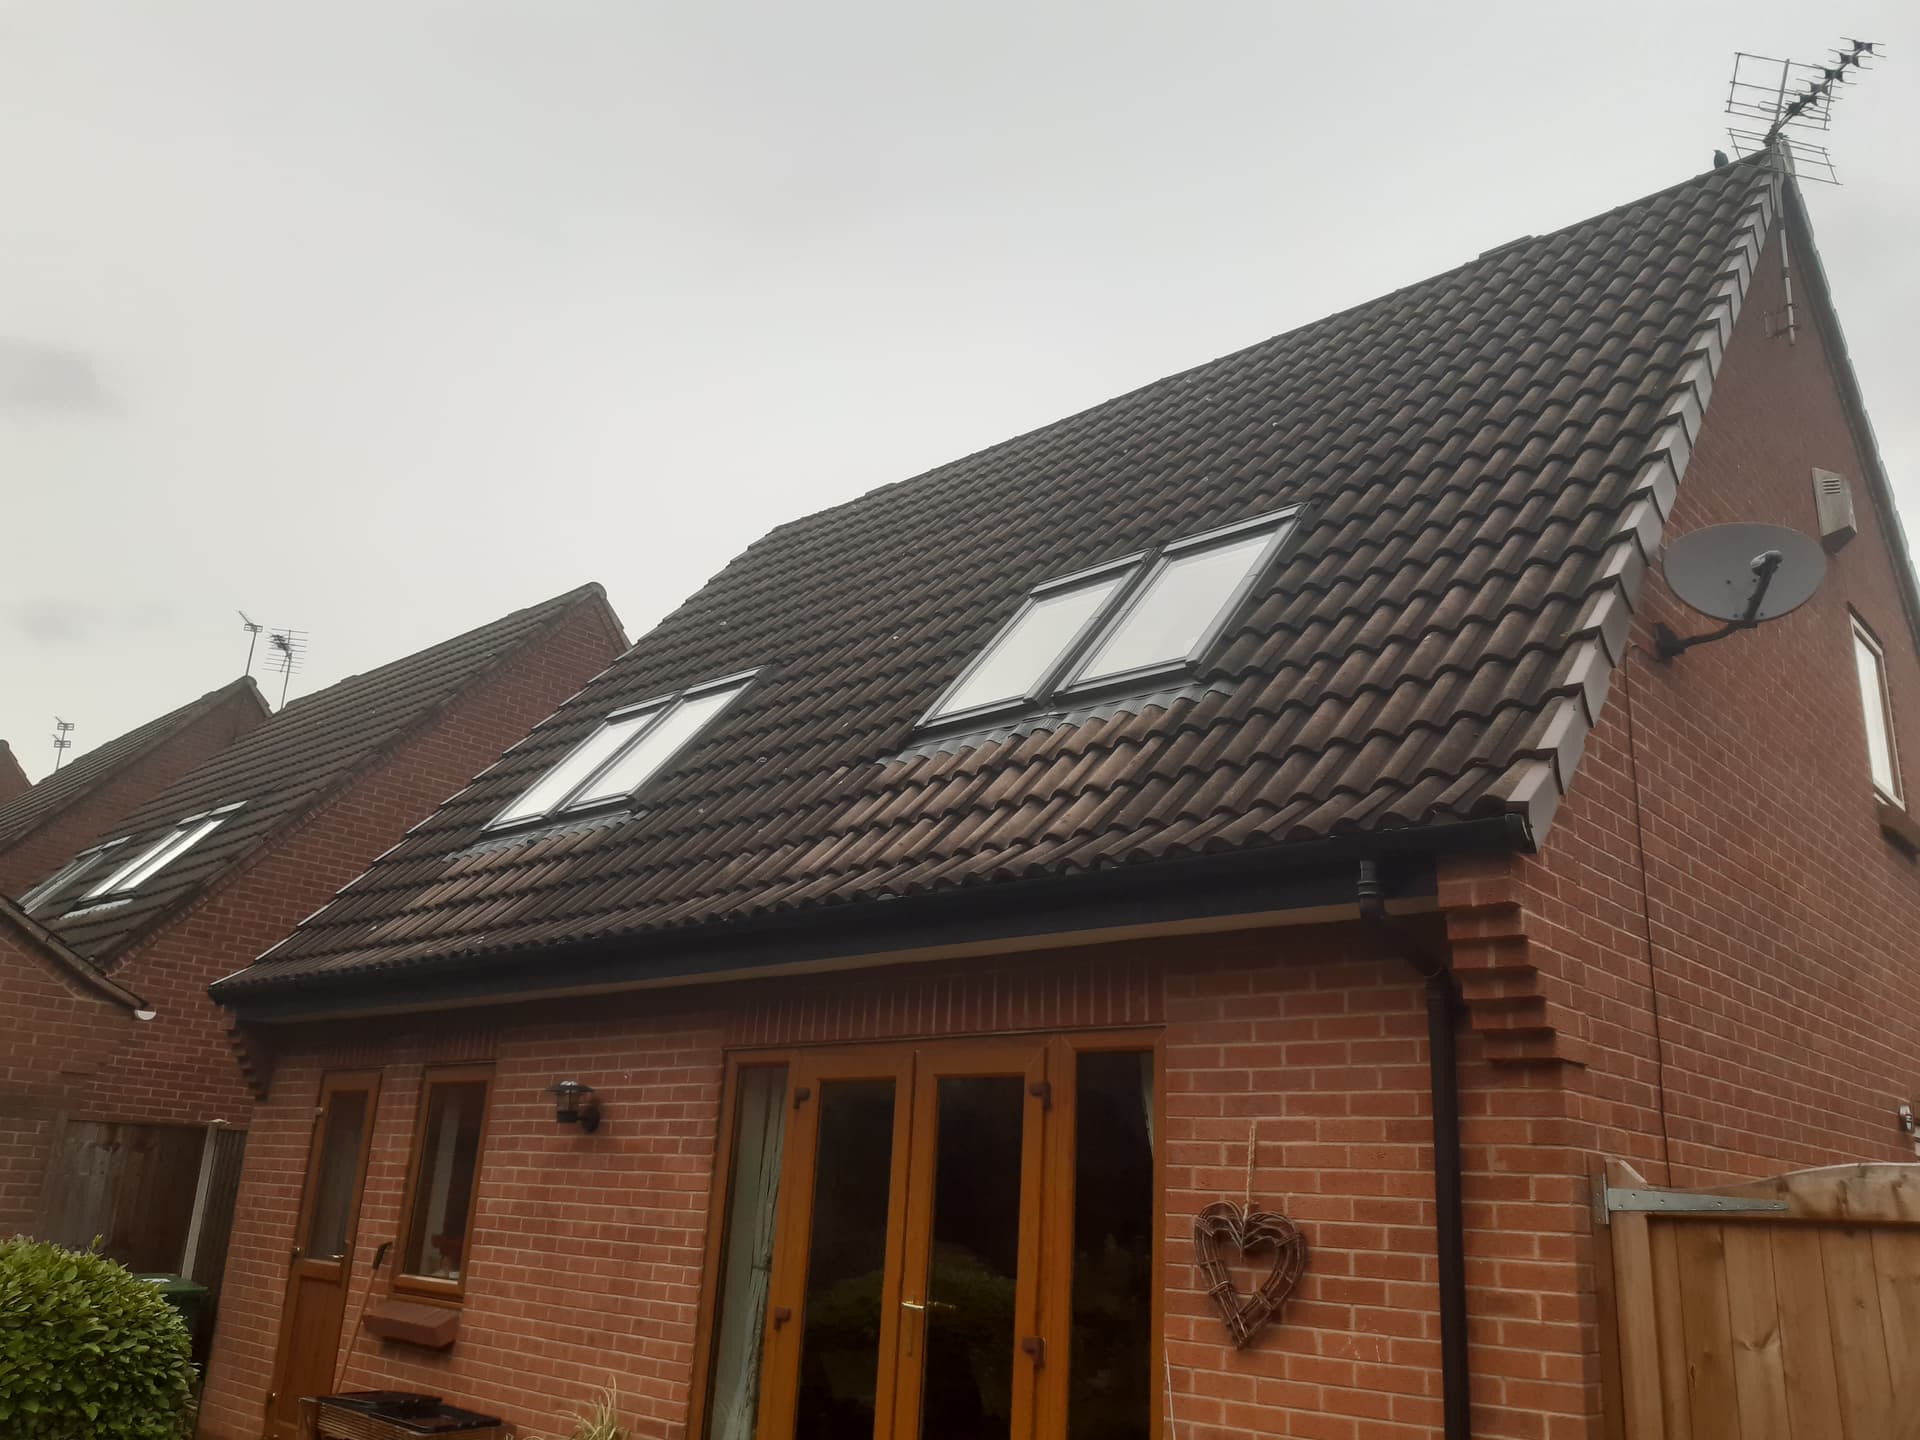
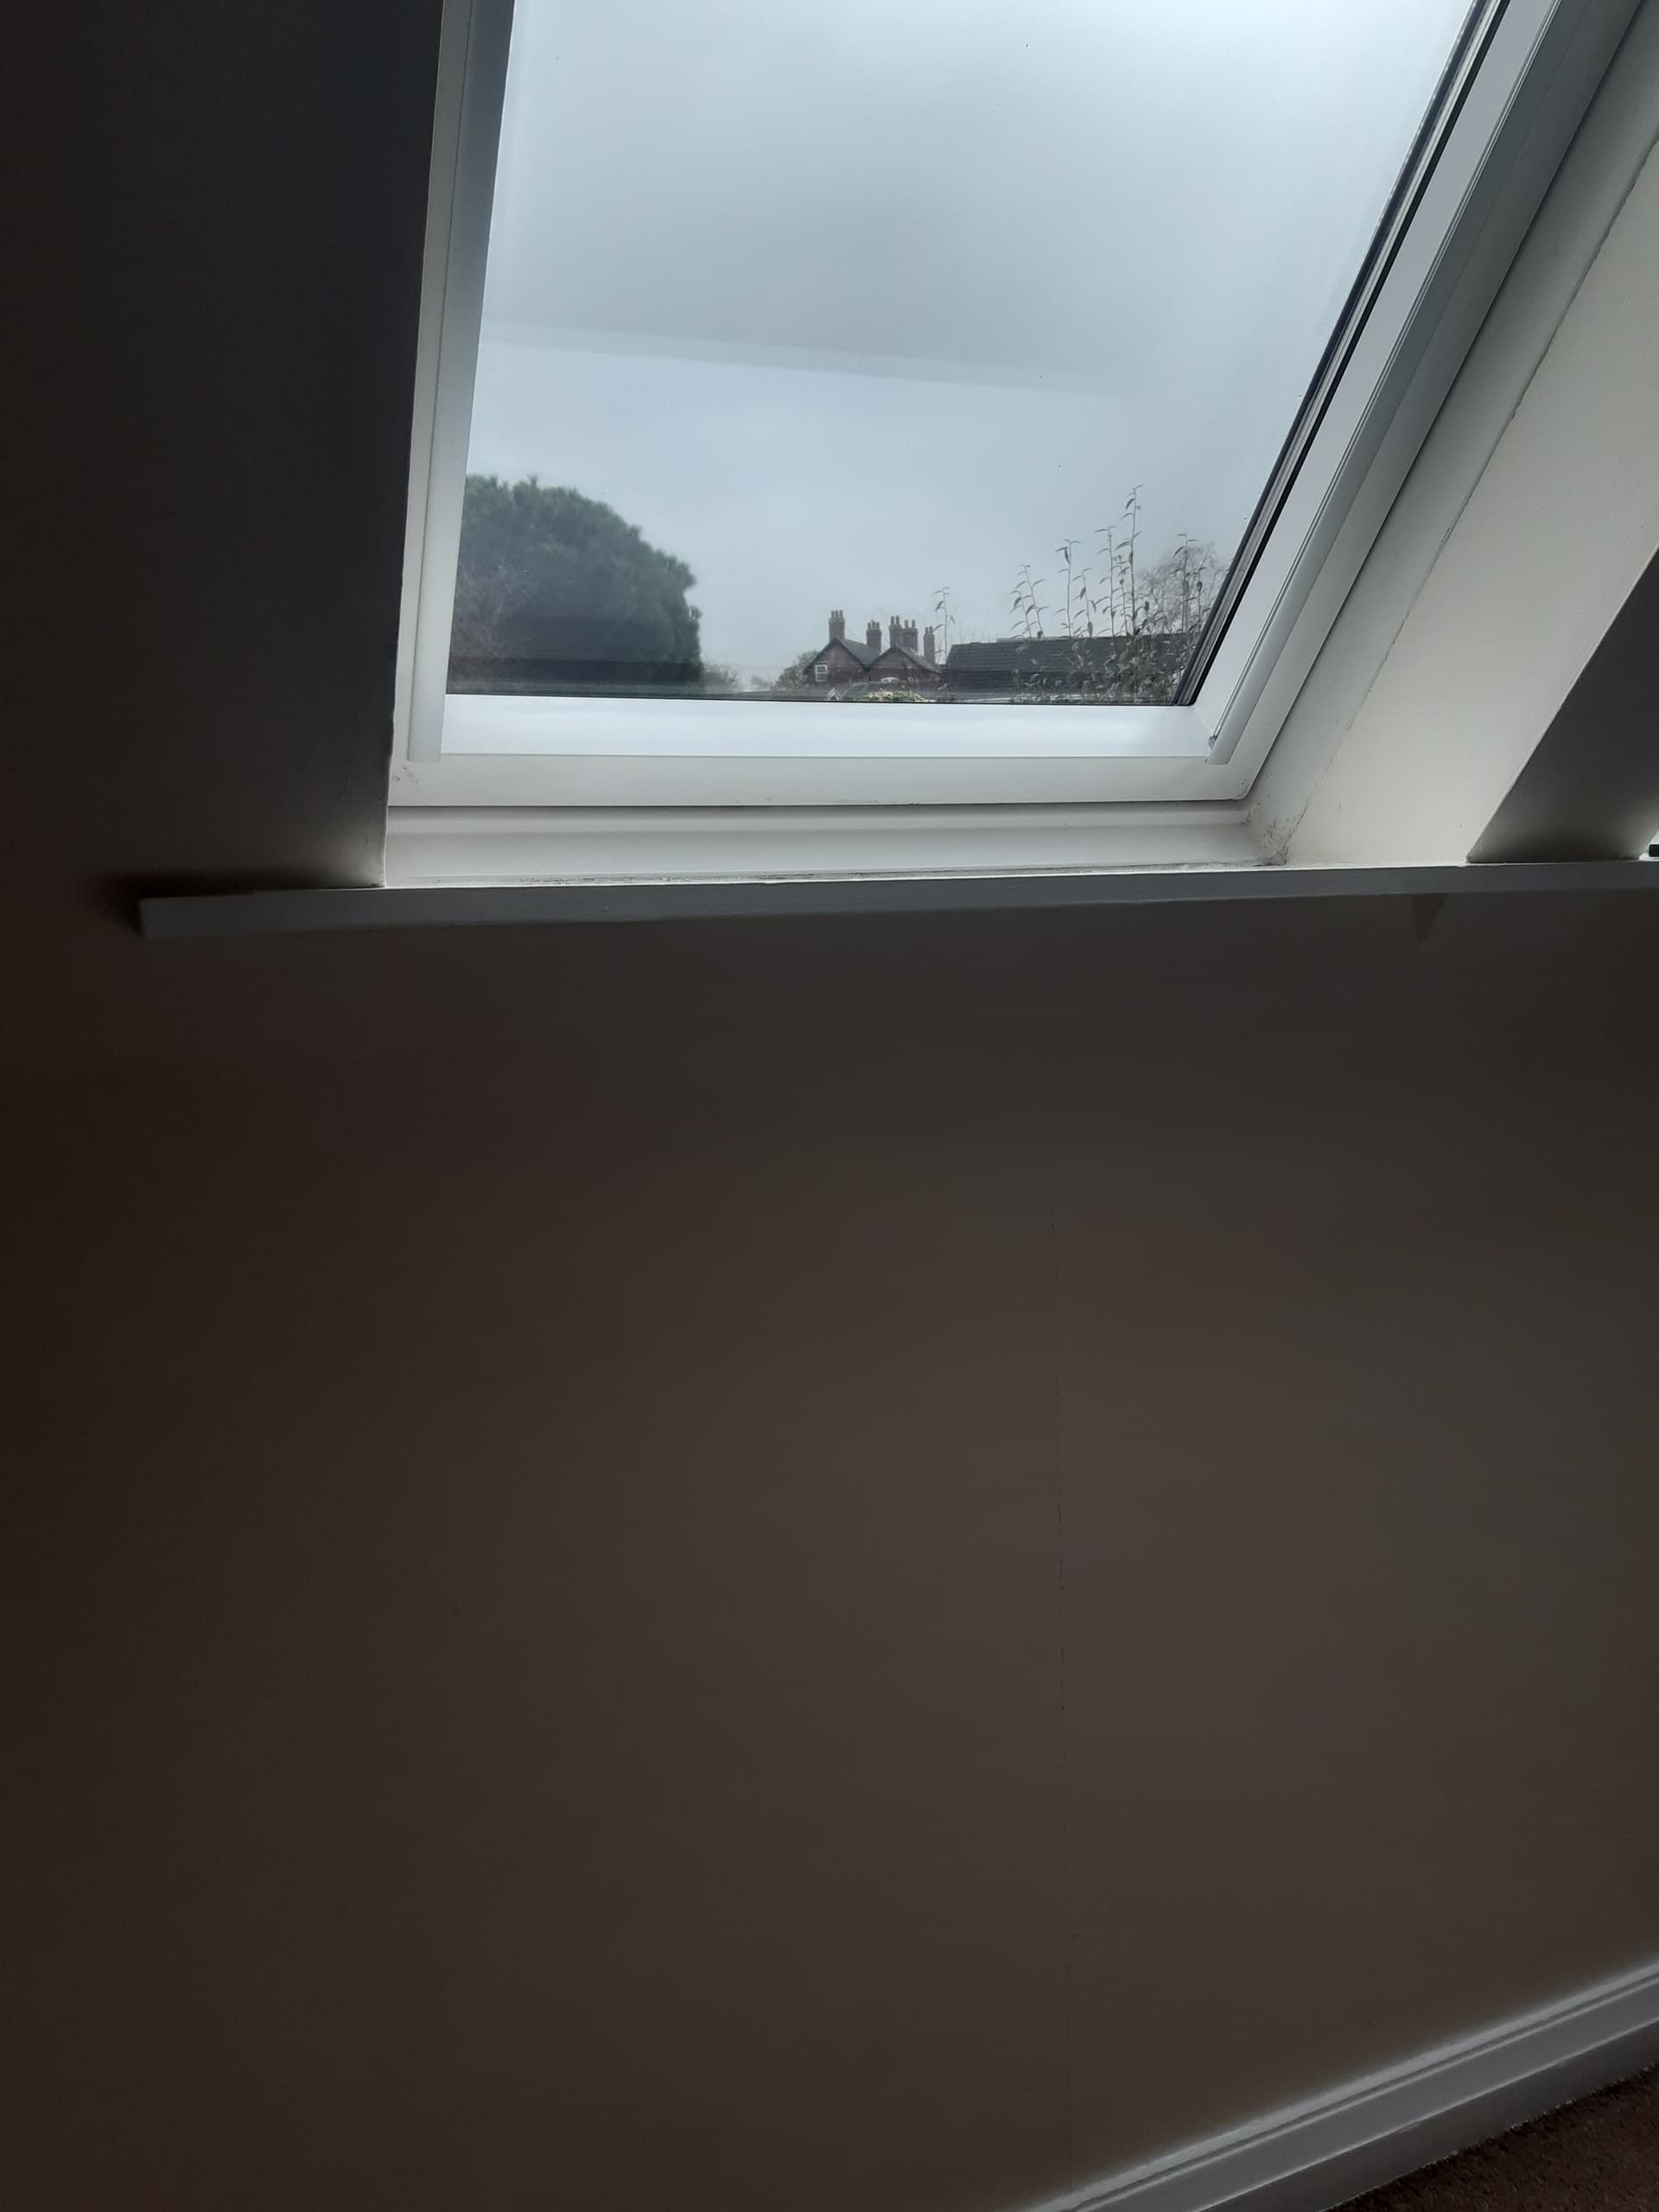
Hi, I am looking for advice on making a roof cavity better insulated and airtight. I think there is some old fibreglass insulation in place. The plasterboard can get condensation on it in winter, the bedrooms are cold especially when it is windy. Also there is cold air leaks in between the ground floor ceiling and the first floor. I have attached photos with some thermal images to help illustrate the issue.
My current thinking is to remove the plasterboard, then fill the upper sloping areas with 100mm pir board allowing 50mm for airflow to the loft, fill the lower space with rockwool and board up the vertical woodwork with more pir board. I would then over board with thinner pir and plasterboard. Do I use battens to fix the plasterboard? And how do I make this all airtight?
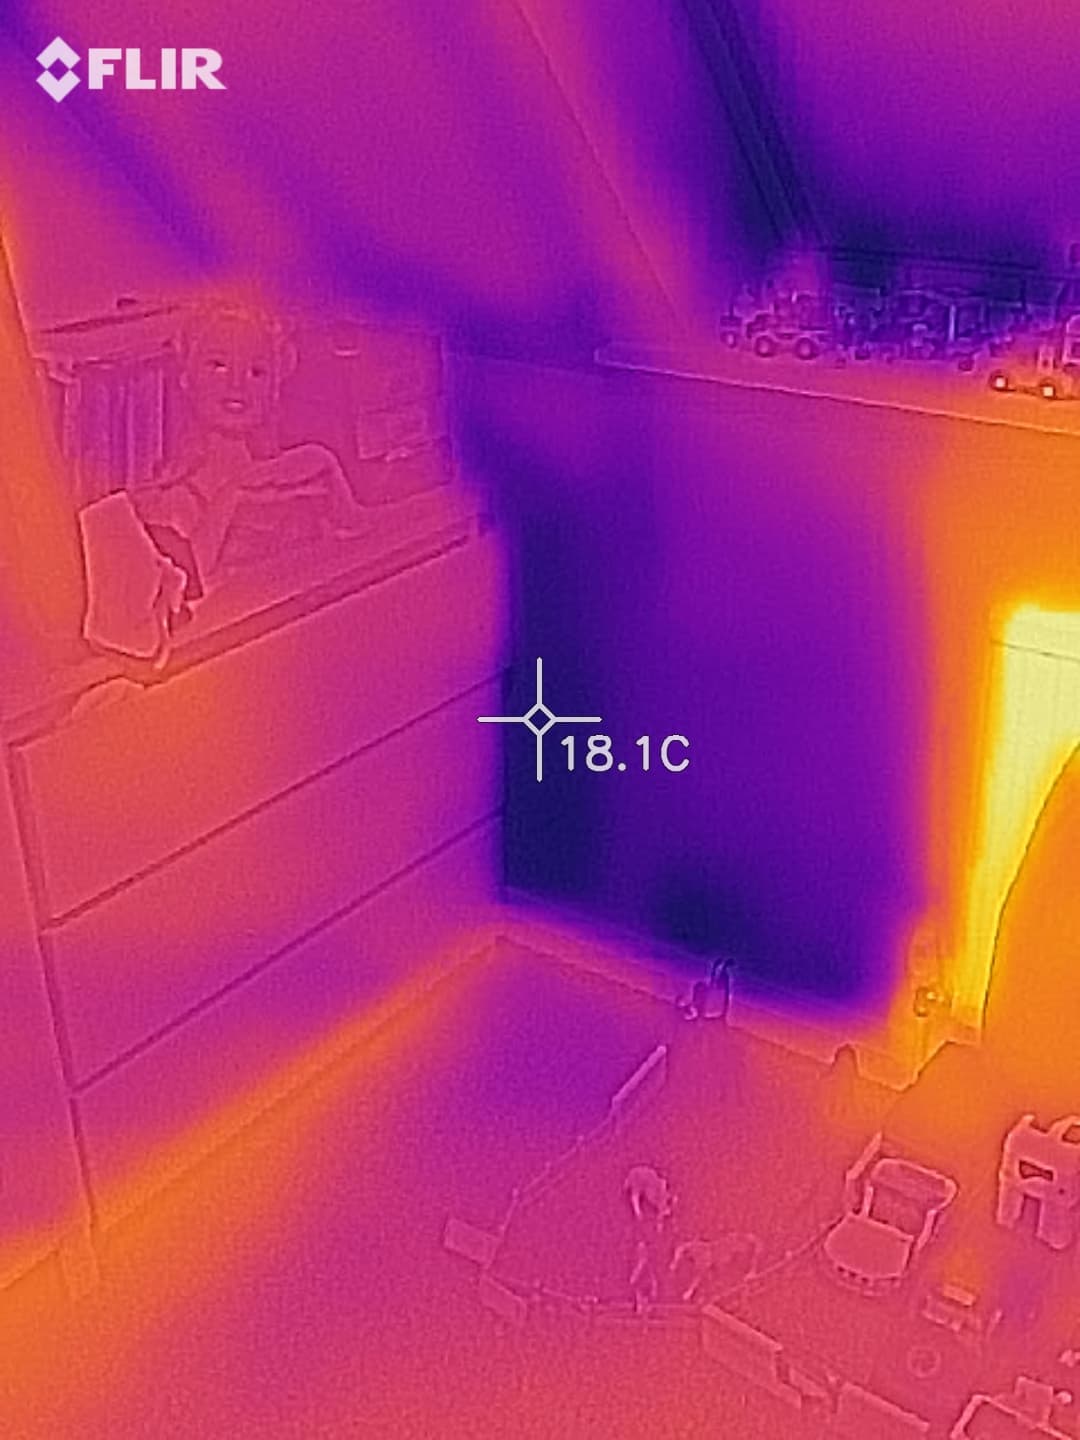
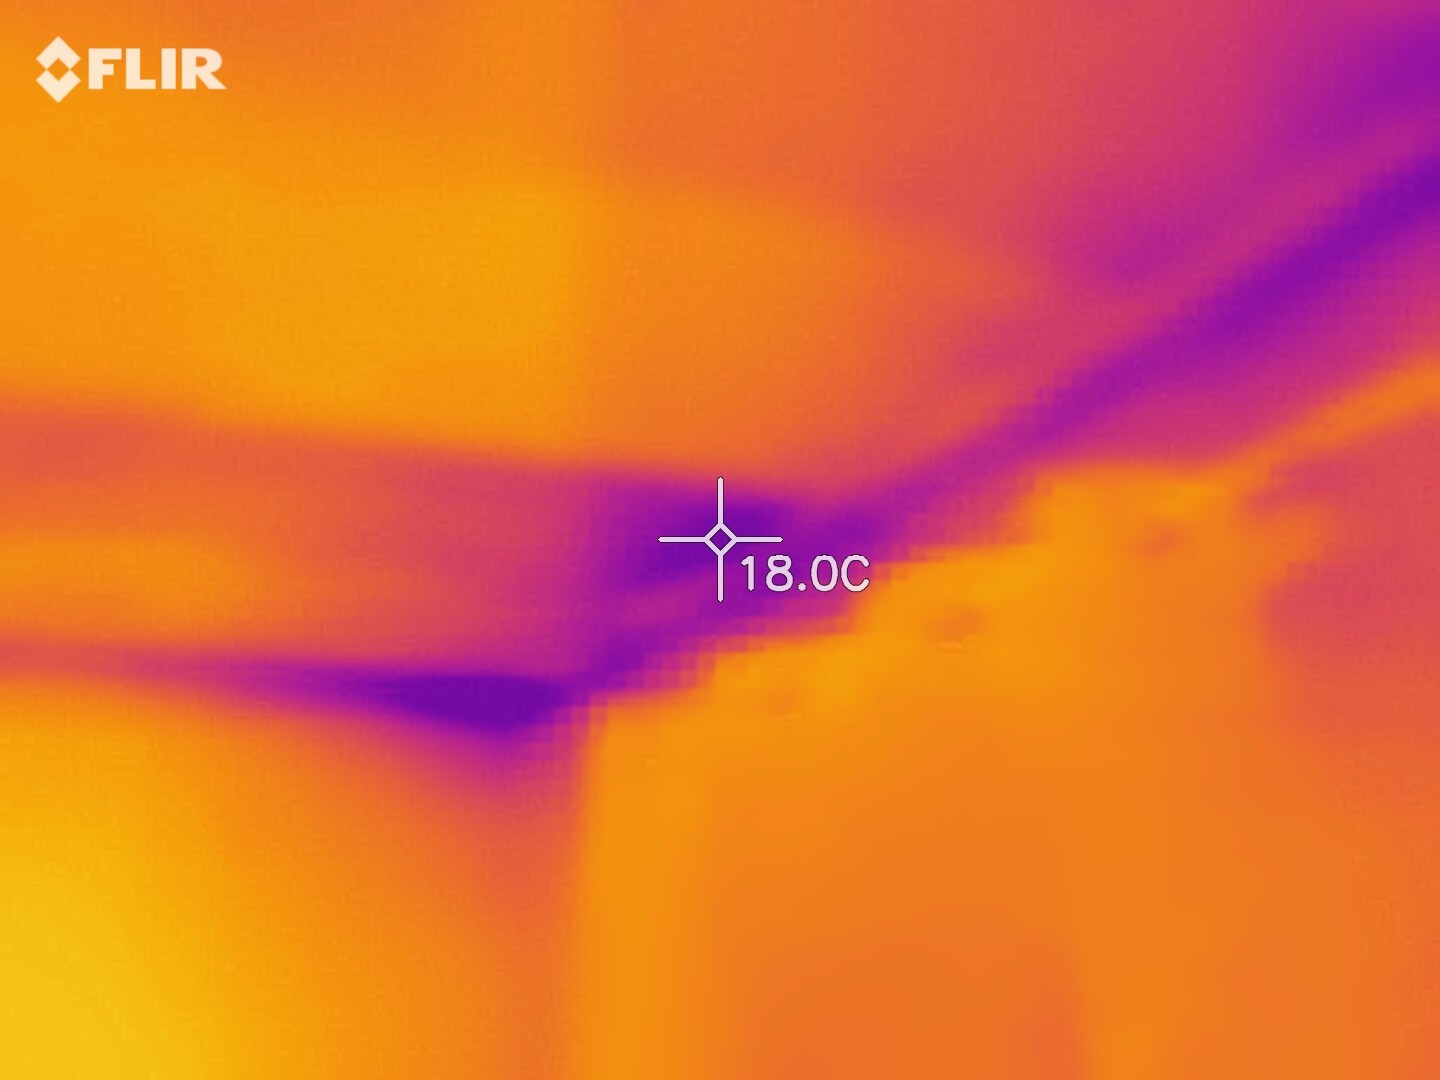
Please clarify. I take it the upper photo is the room in the roof. Is the lower one the ground floor revealing the cold patches between ceiling below and floor above?
How old is the building and has any thermal improvement been made since construction?
If possible, can you tell me whether the wall cavity is open at the top or closed?
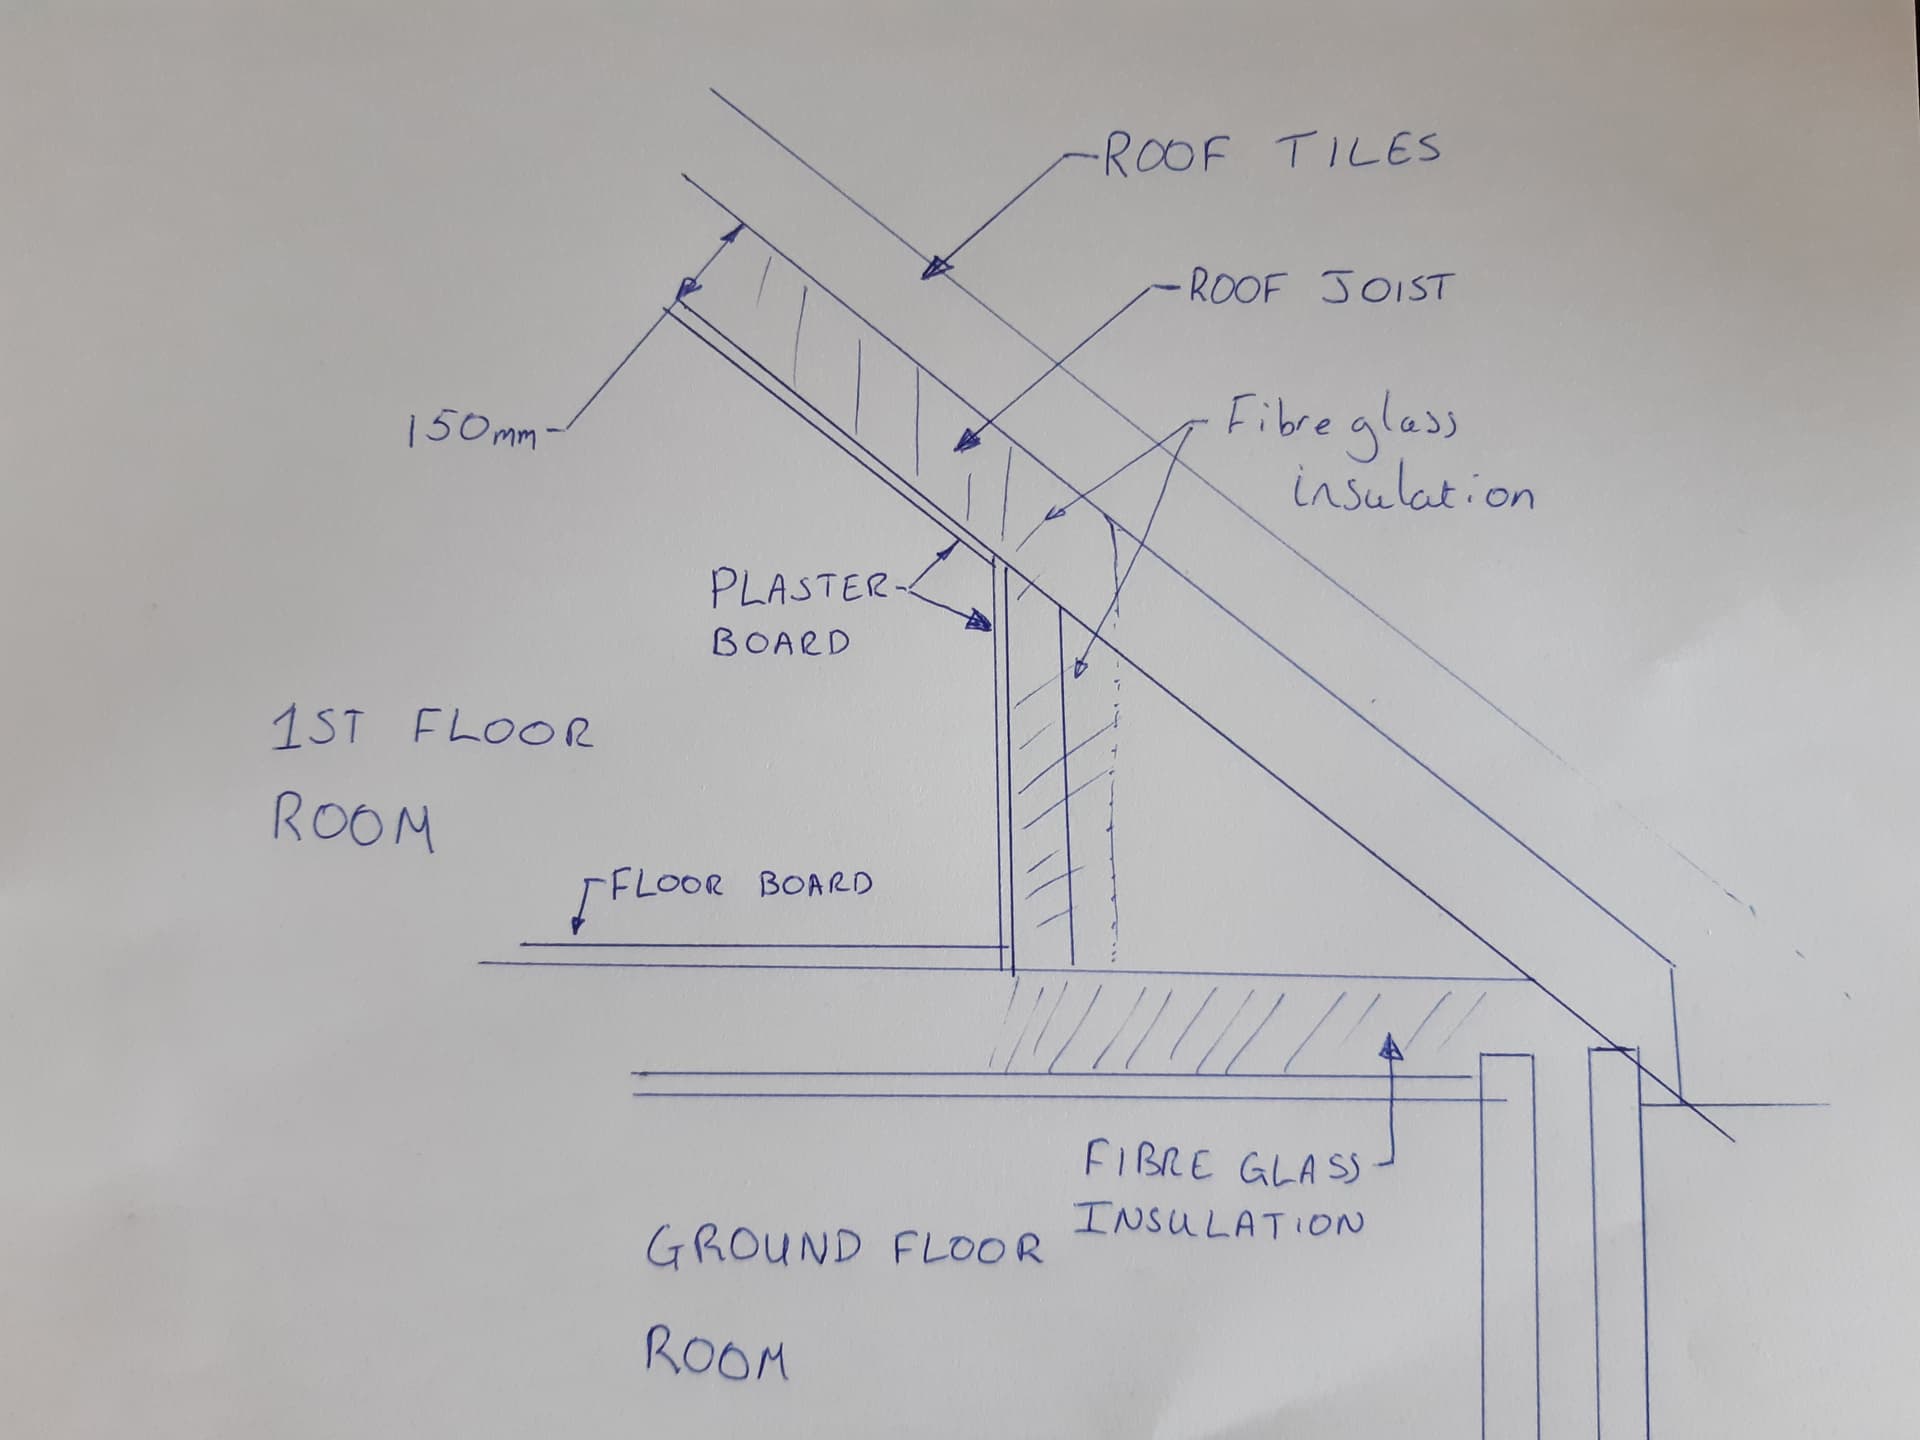
Hi Tim the upper thermal photo is from the 1st floor bedroom. The house was built in 1987, the only change is additional loft insulation above the bedrooms. The cavity is open to the loft but is full of fibreglass. I have attached a drawing of what I think the space looks like. I haven’t opened up the plasterboard to get a look inside.
My initial thoughts are that whatever is meant to be fitted, it isn’t. Potentially it is fitted with the insulation not touching the plasterboard and external air is circulating between them. I think the latter is unlikely as if that were the case it is likely that in places the insulation would touch and would show as a warmer patch.
Edit: I would also question whether the cavity is filled to the top, particularly above window lintels.
Having thought about this and waited to see whether anyone else wants to stick their oar in, I’ll write an outline list of tasks. My browser limits post sizes so I’ll use multiple posts.
Remove first floor mini wall plasterboard, or at least enough to work behind what’s left.
Pull back at least a test area of insulation to reveal the top if the wall. Check the cavity and top up if needed. Loose-fill EPS is good for this, as it freely pours.
If it still looks like new, arrange the existing insulation to properly cover the ceiling below and then top up to crazy levels, ensuring that you go from slightly proud of the future new plasterboard to the roof membrane with each level. Using flexible insulation. So long as it is breathable and you have a breathable membrane I wouldn’t be too concerned about an air gap.
Edit: try to get contiguous insulation from cavity to ground floor ceiling. Any gap give a thermal bridge = cold spot = mould.
For the upright walls try mineral wool wall batts as they can be cut very slightly large and squeezed into gaps between battening to completely fill the gap. Press firmly against existing plasterboard or position proud if the board is being replaced. Fixed to the back of the battening you can have your choice of PIR or other rigid foil faced insulation. Tape the joins and between top, bottom and ends and the house structure, probably the wall studs. Make sure that the insulation reaches the timber supporting the connection between wall and sloping ceiling, preferably overlapping it. Fit foil faced plasterboard for the wall.
That completes the “easy” bit. The precise sequence will depend on which side of the wall you are working from.
Edit: I forgot to mention to tape around the window board and insulate.
Edit 2: it seems that only 3 consecutive posts are permitted, so my post(s) about the ceiling will have to wait until after someone else posts to this thread
Looking at the problem as described I would suggest that you have a wind washing issue and very low density fibrous insulation or none present. Would suggest a borescope to inspect. Replace with thicker, higher density insulation as outlined above covered with breather membrane and taped at the edges.
As @lloydham says, wind washing is a possibility, particularly if you have a fairly open structure to your insulation. My answers above are assuming that the wind is getting under the insulation too/instead. A breathable membrane as suggested above will reduce/prevent wind washing and also stop the insulation deteriorating due to ingress of dirt.
Thanks for the replies I might make a small hole to have a look to see what the cavity is like.
I was considering blocking off the space between the ground floor ceiling and the first floor to stop air leakage. Then using an air tight mebrane or blower proof on the plasterboard.
A half inch of wet applied plaster or foil faced plasterboard are normally considered airtight, assuming neither are damaged. The air leakage in/out of the habitable area is normally at the joins.
In the case being discussed the predominant air movement is over the external surfaces of the plasterboard. You are correct to treat the void. I also suggest topping up the cavity and sealing that.
Hello we have someone quoting for the job. We have a similar situation in our bathroom, But with an added complication of water vapour getting into the loft.
Should I Start a new thread?
I would stick to this tread. The only real difference is the amount of water vapour.
Is the bathroom in question your only personal hygiene area? You need to consider alternatives while work is in progress, particularly if there will be strangers in the house.
Hi, you should (if you haven’t already) read the experience of Pottyone72 with a similar issue
Installing a vapour control layer on a (cold) loft floor
You are going to need to find the source of moisture.
According to @Steven_Draper’s original post the issue is vapour escaping the bathroom into the roof area. This is a common issue and should be addressed as part of the vapour barrier/insulation work.
Yes, @pottyone72’s experience could prove useful. The biggest difference in this case, I think, is access to parts of the area behind the plasterboard and therefore continuity of the installation. Without continuity the job could easily make matters worse in the medium to long term.
@Steven_Draper, are you able to provide photos of the work area? Preferably annotated.
I have taken some photos. I might need more to explain.
The bathroom ceiling plasterboard is foil lined, so I think all original plasterboard for the “in roof” parts are the same. We had the bathroom refurbished in 2021, before I knew of this great community.
A few small areas have new plasterboard, I don’t think this had foil on though. One area of new plasterboard is painted, the paint bubbles up after using the shower when it is cold.
A new extractor fan has been fitted into the ceiling above our new shower cubicle, it is the type that has a LED spotlight. The extractor air is fed through a flexi pipe to connect were the old in line extractor was near to the external wall. I have tried my best to keep this pipe under insulation, but it fills up with water, some of the water is leaking out.
We have had spot lights installed into the ceiling, I think this is another source of water vapour, the other is the extractor flexi pipe.
I will add pictures in further posts.
.
This is an area of the loft above the shower. To me there is moisture condensing on the woodwork and running down it.

