With the IR camera you are looking for contrast. This can be done in two ways- inside, looking for cold air coming in or outside looking for warmth escaping the dwelling. I would recommend doing both. The pictures are digital and don’t cost anything so take as much as you can from different perspectives to get the full view of the situation you are experiencing.
2 Likes
Great advice - thanks
Hi All!
Presume this looks like a thread for thermal images?
I borrowed the Manchester Carbon Coop thermal camera last week - please see my pictures in the link below!
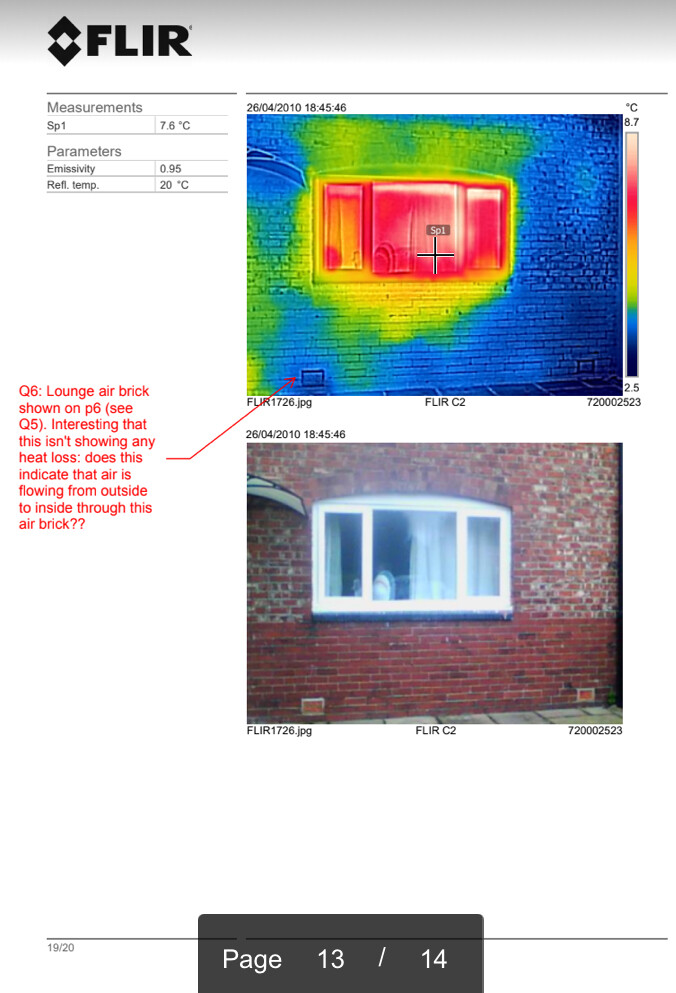
I’ve included a few comments/queries in the pdf, numbered Q1 to Q6 - any responses gratefully appreciated 
https://drive.google.com/drive/folders/1lkXxXJQ7CE8jR4ZMpAnCBHZs5lEfEJiN?usp=sharing
Peter
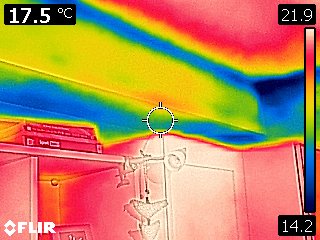
Hi, an interesting set of results. I “liked” the heat loss around the ceiling light fittings in the kitchen and the air-vent at low level in the lounge. You have thought you could deal with those lift fittings - what is the insulation material in that slopping ceiling generally?
I guess in terms of ventilation you could do with some temperature and RH% sensors dotted around the house (approx 4 no. will probably be more than sufficient) to check the humidity levels prior to making changes to the ventilation. Have trickle vents been fitted with any of the (new) windows? How many extract fans are there in the house (ducted to outside)? Look to Aereco vents for possible alternative to trickle vents or to replace that air-brick (but at a better location).
1 Like
Ace thanks Dom ![]()
So, in response:
-not sure what’s behind the plasterboard on the extension ceiling (where the light fittings are) and a little nervous about doing that kind of investigation (very much a newbie DIY-er!)
-can you recommend some temp/RH sensors, and how to log the data?
-no trickle vents on the double glazing - just the option to lock the window ‘cracked open’ as opposed to fully shut
-one vent fan in the bathroom; one in the downstairs loo
-re: aereco vents - something like this? And what is a better location usually? higher up?
Pete
If you could get hold of an endoscope (camera) that would probably be the best way to visually inspect behind those light fittings.
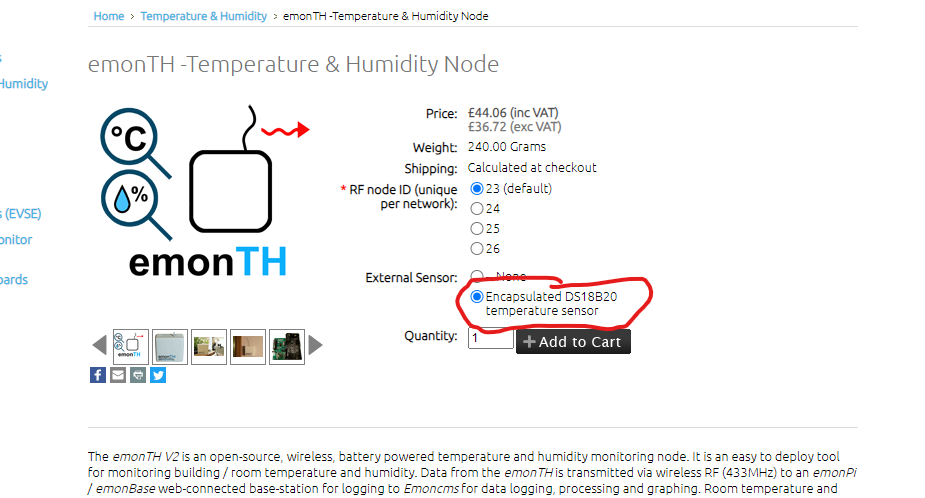
At the moment I am using EmonTH devices paired with an EmonPi from Home | OpenEnergyMonitor
This works out a little expensive once you add several devices etc, so it is probably worth looking at Xaiomi sensors (https://www.aqara.com/us/temperature_humidity_sensor.html)
Yes it would be to have the Aereco vents higher up - say about 1.9m above floor level.
1 Like
It is worth mentioning that Carbon Co-op also has an borescope (the same as an endoscope but NOT for use on the human body!) which is available for members to borrow. It hasn’t been as popular as the thermal imaging camera and I might need a little bit of time to dig it out (and if there is more interest to set up a process), but is is there to use.
For now, just send me a message if you are interested!
1 Like
As promised IR images of the loft hatch and of the steel chimney support boxed in in the bedroom below - clearly we have more insulating to do . Stuffing of the gaps and cracks is happening this weekend
. 
Thanks!
If I were to treat myself, what’s the full list of things I should buy from the Openenergymonitor shop?
Also, what’s the reasoning behind putting vents in at 1.9m? Is it about airflow, or about it being the right height for the internal humidity sensor??
Pete
I think putting the air vents high up is best because essentially they will be bringing colder air from outside and this will mix as it descends within the room away from the vent.
I will try to pull together a list of stuff from the OpenEnergyMon site in terms of temperature and RH% monitoring. In terms of locations for the EmonTh (temp / RH%) sensors the best location would be away from sources of heat (rads but also TVs etc) and at a height of approx 1.2-1.6m from the floor (ie general middle of body height).
1 Like
So yes to confirm if using OpenEnergyMon gear then the best combo for you would be 1no. emonPi (which can also monitor your electricity use - add CT clamp and voltage transformer for that purpose) with say 3no. emonTH units to monitor temperature and humidity.
1 Like
Are the emonTH units weatherproof or did you buy the optional extra external sensor with one of them for your outdoor temp logging??
No the EmonTh devices are not weather proof so you either need 1 of the probes you have identified or you need to put the EmonTh in another weather proof box or put it in your outdoor gas meter box (assuming yours is outside).
1 Like
It might be worth creating a separate thread about home temperature/humidity monitoring.
I think there is a lot of useful information here and it would be a shame to have it buried in this longer thread about thermal imaging!
I know @Matt in particular has been looking at this in quite some detail. I have now created this thread as a ‘linked topic’. Hopefully we can continue to share some ideas on this!
1 Like
Hi,
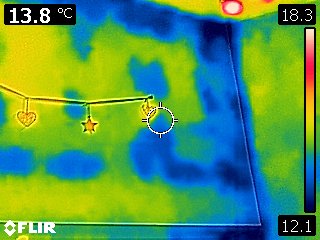
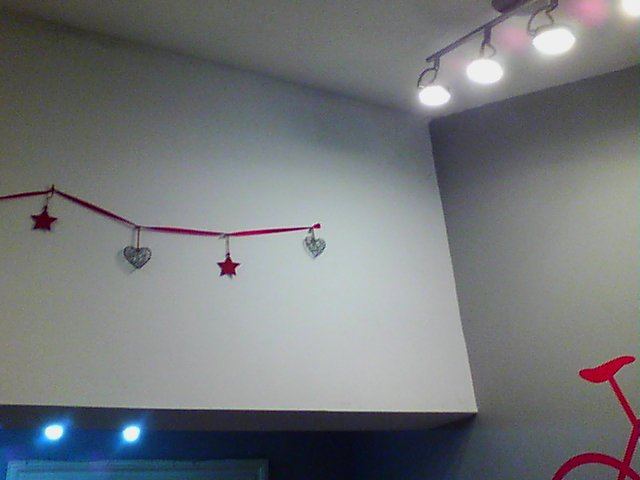
IR images are often very confusing but usually do indicate areas with issues.
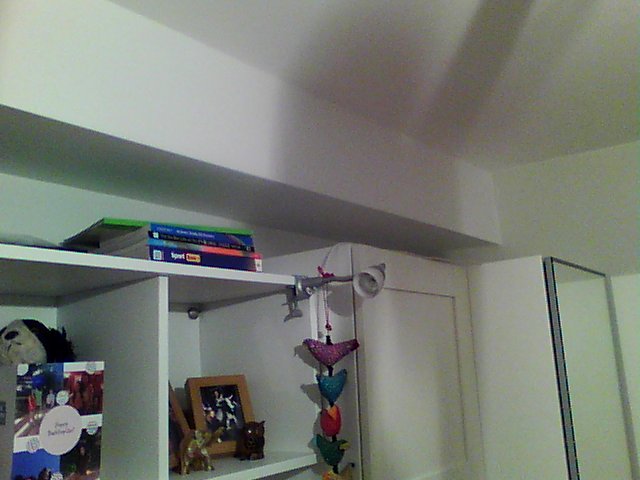
I include the image below of our ceiling that we documented and took plasterboard down.
A small hole for a flexible camera might tell you what you need to know- condensation and moisture accumulation because of a lack of insulation.
I’m pretty sure Mick (the author of this blog post) won’t mind me reposting this here:
https://www.energy-stats.uk/flir-thermal-camera/
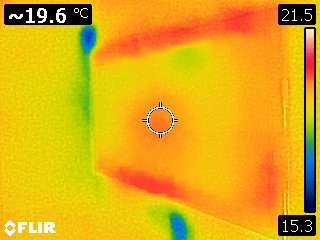
@Peter_Mumford , I have just been looking through this thread and looked at your pdf. I had a professional heat and airtightness survey a while back and one of your images really reminded me of one of mine.
The image of the window on a blue wall shows an insulated wall with thermal bridging at the window. Also, possibly a gap in the wall insulation.
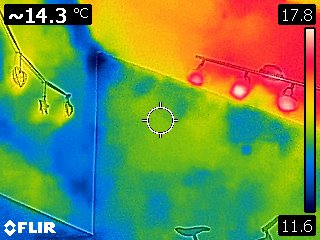
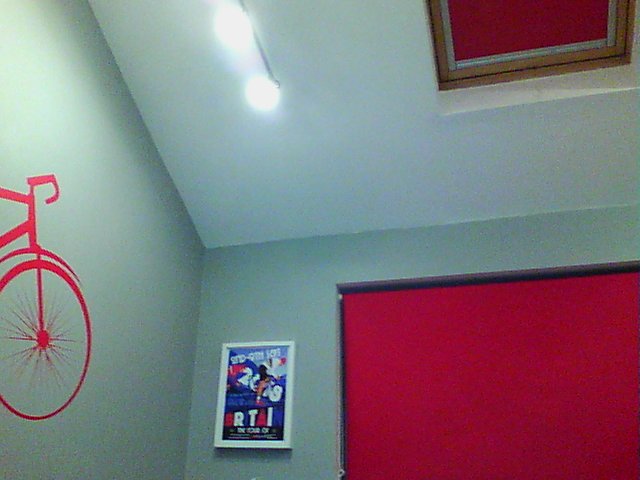
Hi, I have borrowed the thermal imaging camera and would like some help please in interpreting the results! We have a ground floor room out the back of our garage which was an extension in 2009. It has a high ceiling admittedly, but has always been noticeably colder than the rest of the house (house is a semi, the extension has 3 external walls). We have an enormous radiator in there. Without the heating on, the room is on average about 2.5 degrees colder than the rest of the downstairs. It has a concrete beam/block floor and a small velux in the roof.
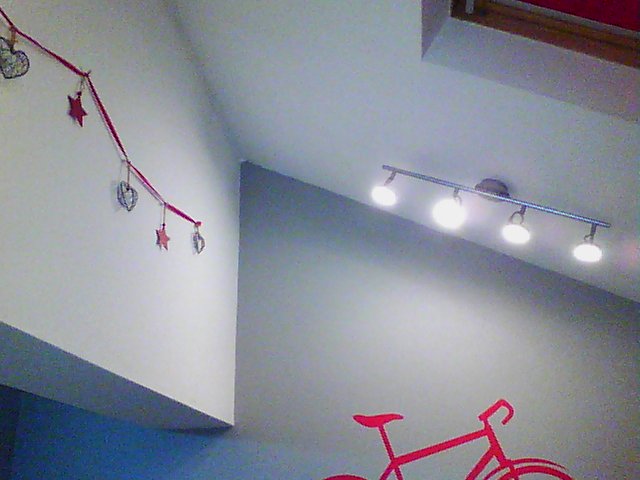
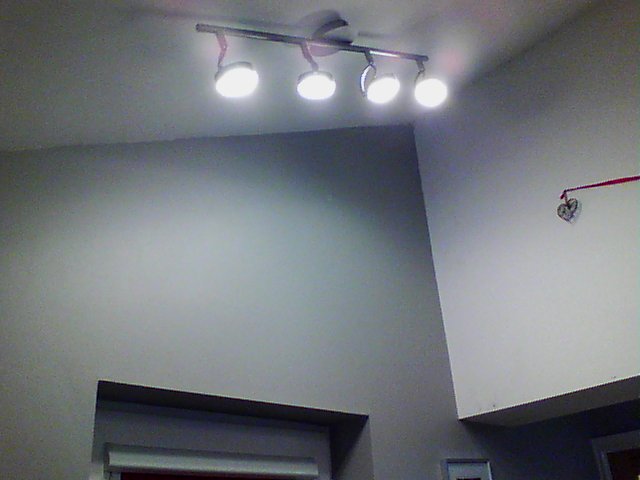
Someone has previously suggested it may be a problem with the dot and dab plasterboard not being done properly ( ie with the continuous beads). I’ ve attached some photos and would appreciate your thoughts- it looks like cold air is getting in where the roof meets the wall of the first floor?- but also issues at wall joints as well. I’m also wondering if theres an issue with the heat from the radiator just going up the wall with the window on it, up to the ceiling and not really heating the room evenly?
Ultimately we are thinking of getting underfloor heating in the room, but would like to be able to fix other issues first? thanks
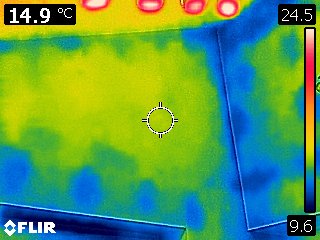
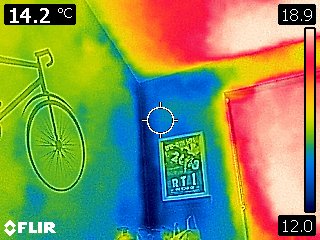
Also appears to be cold coming in through the base of the skirting.
@Lisa_Varey , I hope you are prepared for a major refit of the room.
Some benefit could be obtained by air tightening the plaster board joins around the walls and to the ceiling but ultimately it is the airtightness of and between the walls that I think needs fixing. Also the airtightness between wall and window frame.
Judging by your final comment about the skirting I expect that the airtightness between walls and floor (not flooring) needs fixing too.
What kind and amount of insulation is in the floor, walls and ceiling? Is there any continuity between the insulation in these elements?