We are currently rolling out an update to the Home Energy Management Systems as used in the PowerShaper project.
These updates should not affect the PowerShaper service or your participation in any of our PowerShaper events - the system will work exactly as before when an event occurs.
However there are three changes that may affect some of our “power users”.
As you may already be aware, we have built the HEMS on the Home Assistant project.
This is an open source project that is still under regular development. We would like to keep our system up to date with Home Assistant and let our participants use all of the new features being developed by the open source community.
This update to the HEMS updates Home Assistant from version 0.115 to version 0.117.
You can read about the new features available in 0.117 on the Home Assistant Blog.
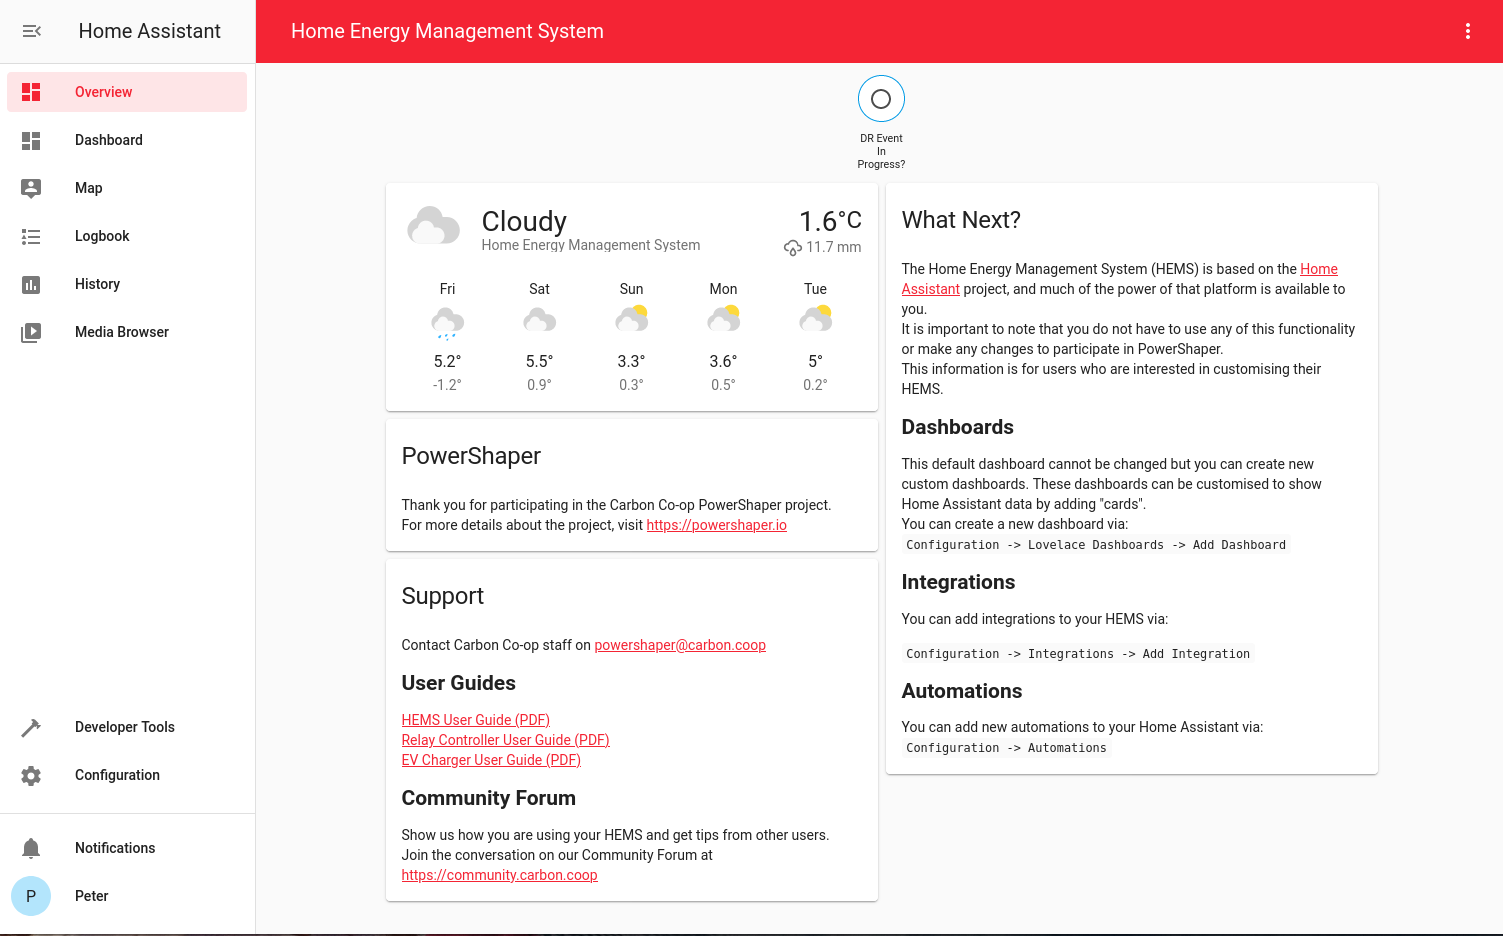
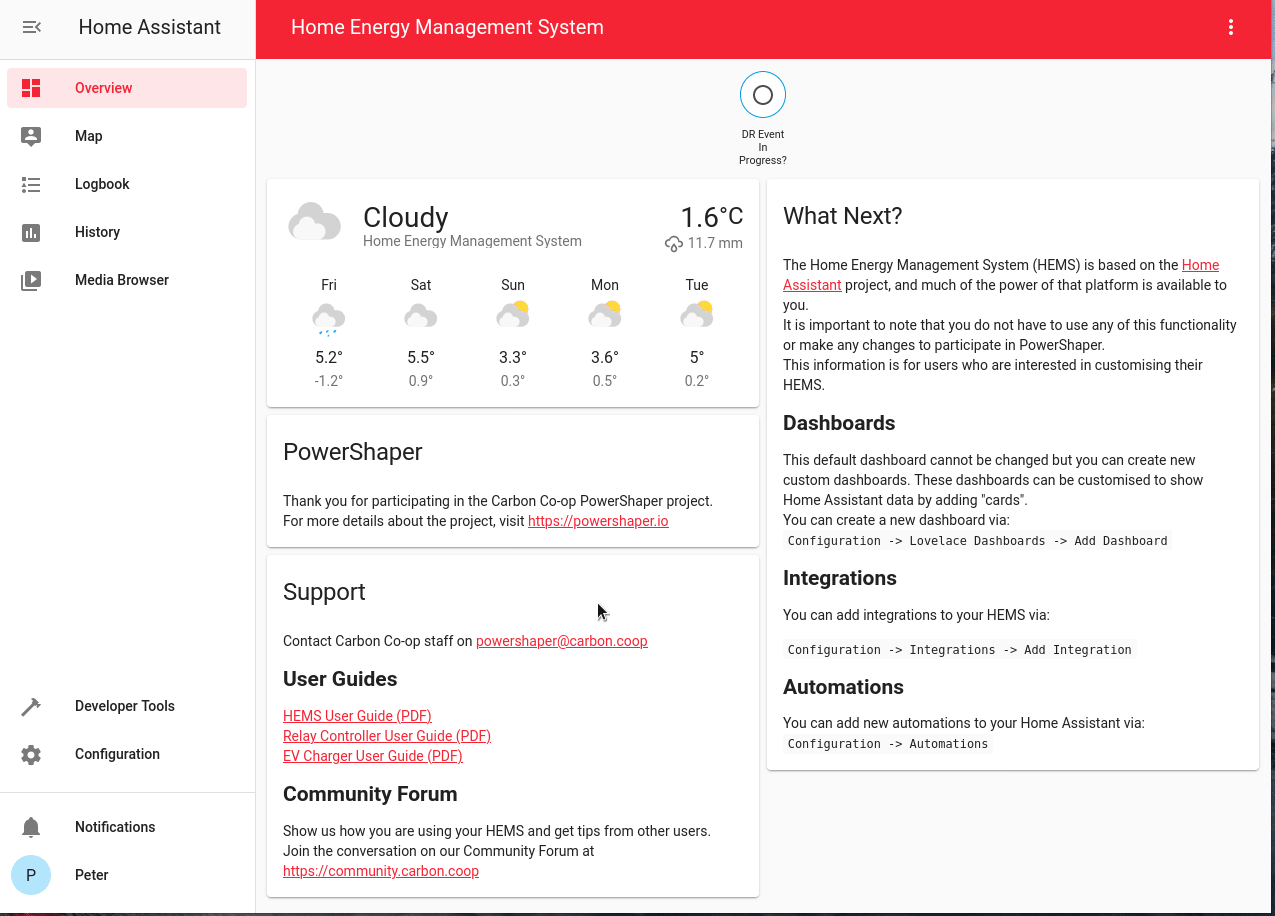
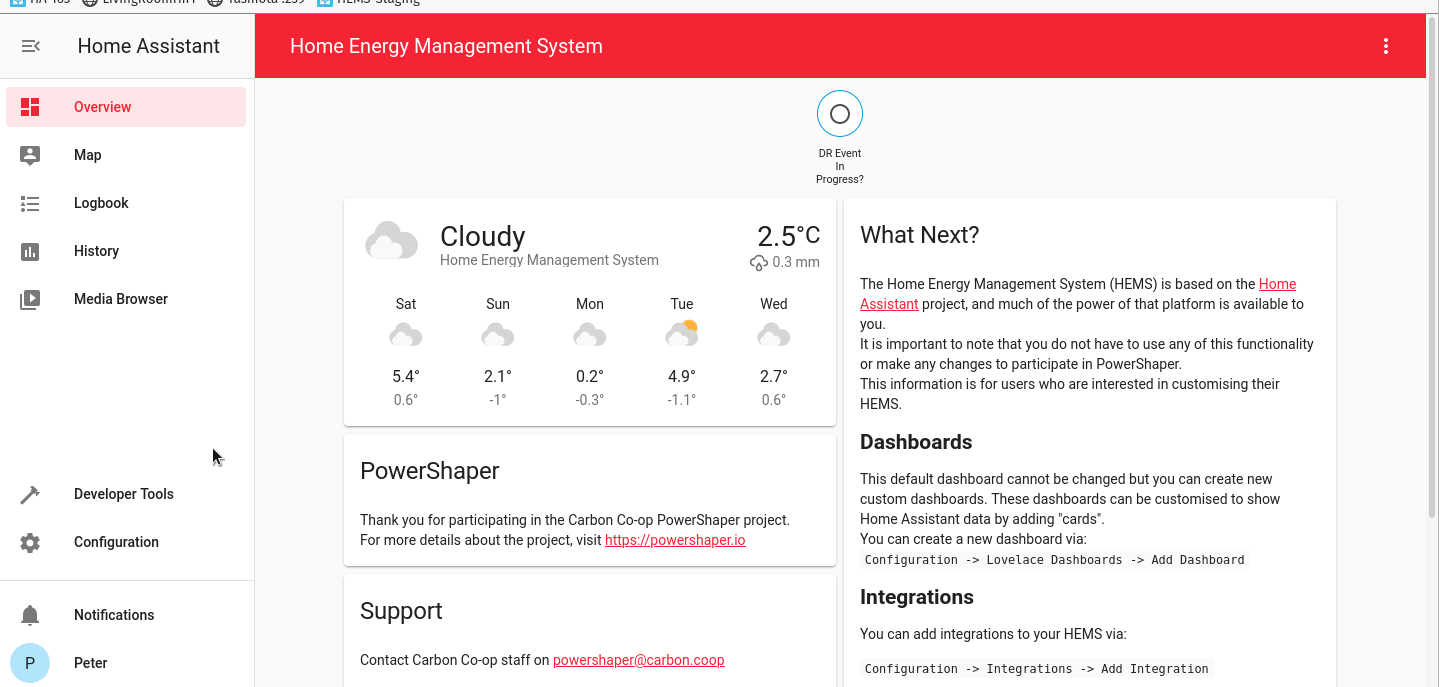
The second change is to the default user interface on the HEMS.
The previous version displayed everything out of the box - your sensors, switches, PowerShaper information and even the weather! This was useful for debugging, but it resulted in a user interface that was sometimes confusing and not very useful.
We need to consider that different people have different ideas about an ideal HEMS interface. Some users just have one switch or EV charger and some would like to add many more Home Assistant integrations. It is impossible for us to create the right dashboard for everyone, so the new dashboard will just display some fixed text about the system and the PowerShaper service.
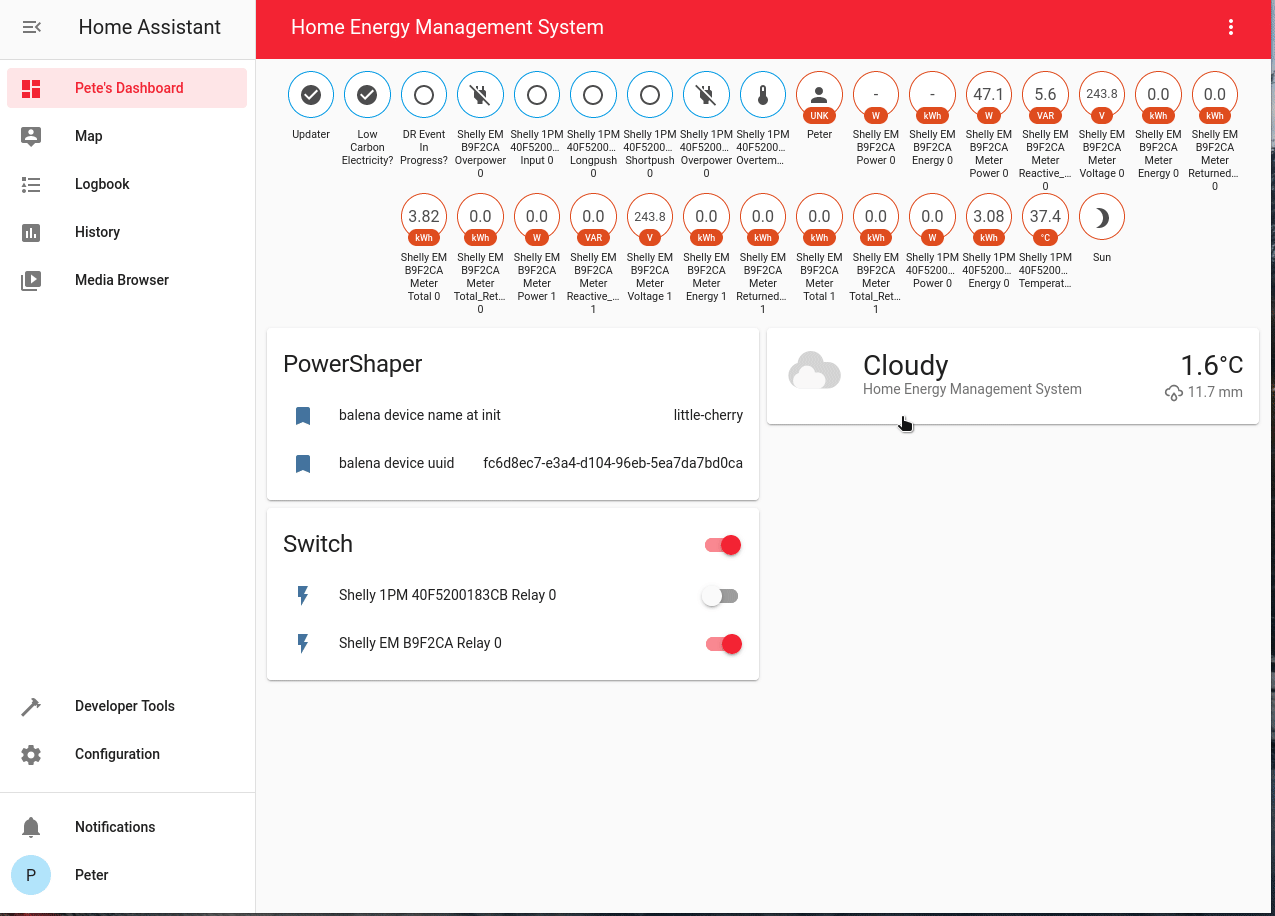
You can easily add a second dashboard and customise it exactly to your liking, and you can even set your new dashboard as the default.
Just go to Configuration -> Lovelace Dashboards and click the + button to add a dashboard.
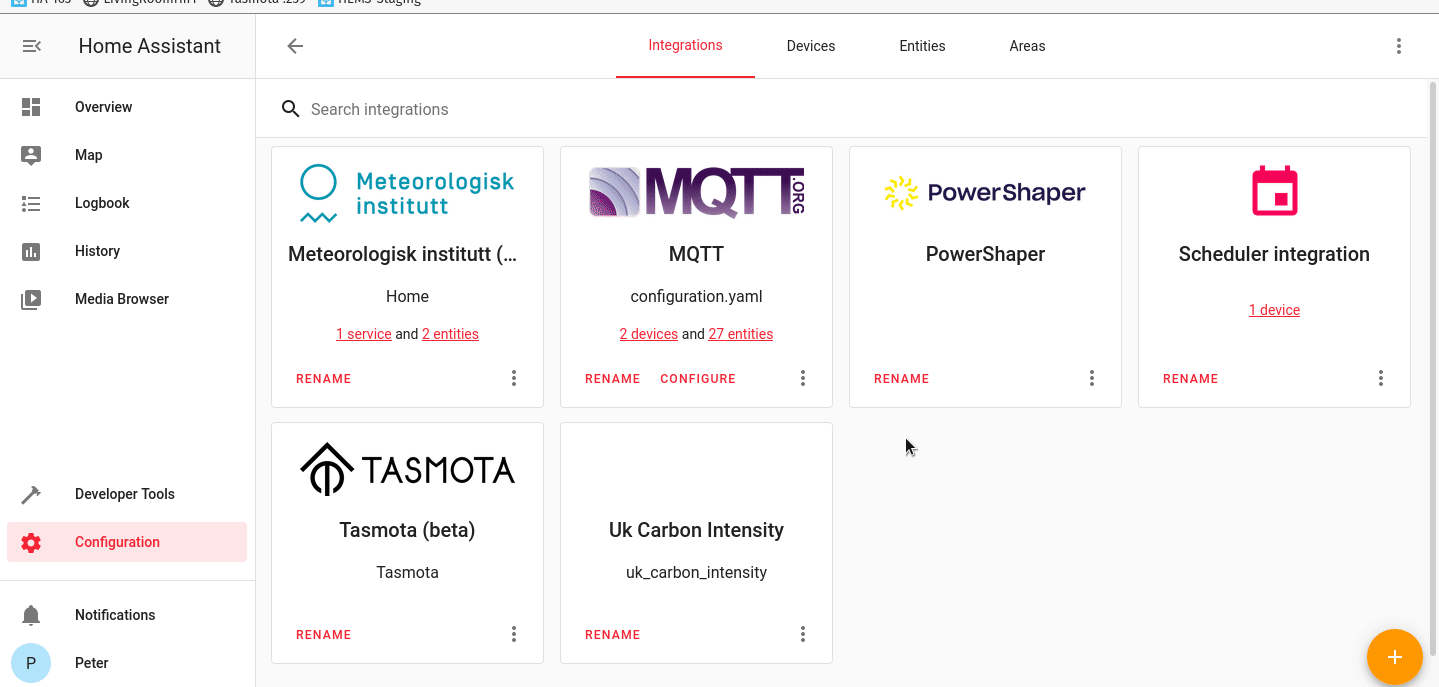
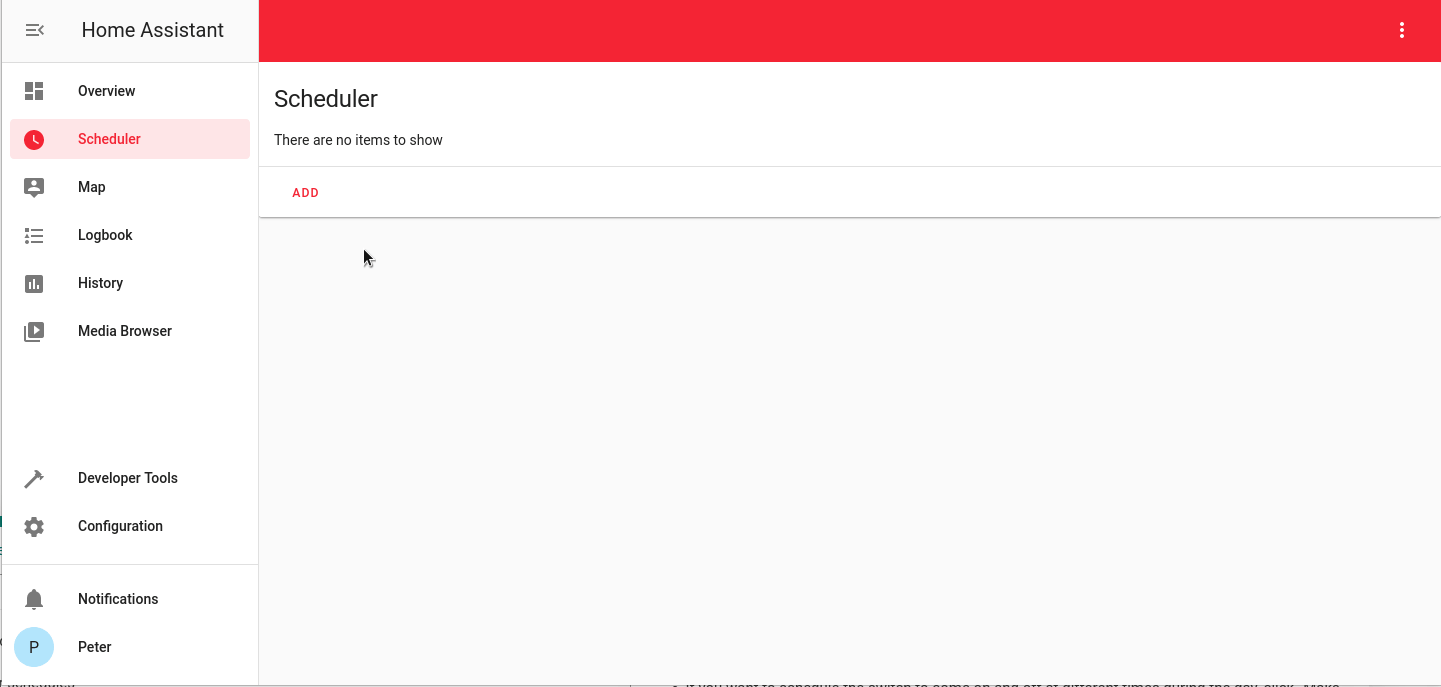
The third addition is the inclusion of a “Scheduler”. This scheduler can be used to turn on and off your switches depending on the time of day. It requires a bit of configuration, so I will detail that in a further post.
The updates will be rolled out to all users over the next day or two.
Next you need to place the scheduler card on a dashboard. I like to create a new dashboard for my schedules, but you can place the card anywhere you like.
Create a new dashboard by going to Configuration -> Lovelace Dashboards
Give the dashboard a title “Scheduler”, and a nice clock icon with mdi:clock
Navigate to the new dashboard, click the three dots at the top right and click “Edit Dashboard”
I like to start with an empty dashboard, so I click that toggle, then press “Take Control”
Give my dashboard a Title, and add a new view by clicking the square + button.
I like to give the scheduler a page of it’s own, so I toggle Panel Mode.
Now, click on the round + button to add the card. Scroll to the bottom to find “Custom: Scheduler Card”
Select the entities you would like to be able to schedule, and hit “Save”. I have two Shelly switches connected to my system. You may have one Shelly - the immersion heater or an EVSE charger.
Click on the X at the top of the dashboard to come out of editing mode.
I was very disappointed with the updated default dashboard. In fact, IMHO, it isn’t a dashboard at all, it’s a navigation page to some help resources.
The purpose of a dashboard is to provide actionable insights. While the original one was cluttered and confused, it did offer useful infomration; the update removed all insights. As a consequence of this I spent several days with my charger being disconnected from the HEMS since I had no way to see that they weren’t talking.
I have subsequently configured a couple of dashboards that are useful for my environment (Solar + EV charging), however I can’t find a way to make one of those a default.
What would be ideal is a simple, minimal default dashboard that provide some insights and some navigation. It would be great if there were then a set of scenario-based dashboard templates for people to add. Each should focus on a particular use case, e.g.
There are two reasons we decided to simplify the default dashboard:
Everyone has a different setup and each bit of hardware needs to be configured for display on a dashboard. Using Home Assistant it is not currently possible for us to ship a dashboard that is both simple enough and works correctly - it’s either an automatic “show everything” situation as we had originally, or a constrained information page as we have now. Anything else would require our remote commissioners to manually create a dashboard for each installation, and we just don’t have that capacity.
Many of our PowerShaper participants are not interested in any of the capability of the Home Assistant software we have bundled, and just want the system to work away with no configuration needed. It shouldn’t look sloppy (as the original automatic one did), and shouldn’t have switches or buttons that could accidentally be toggled without understanding the system.
You can make any of the dashboards you have created the default - I’ve shown how in the middle gif on my original post.
Just go to Configuration -> Lovelace Dashboards. Click on your new dashboard and then select SET AS DEFAULT ON THIS DEVICE.
Sharing dashboards is a great idea and I am happy to help the community do this if I can. I don’t have solar panels, an immersion or an EV, so my ability to create a dashboard that suits you is pretty limited!
At the moment it’s pretty straightforward to share a dashboard. On your new dashboard, hit the three dots at the top right. Click Edit dashboard, and then Raw configuration editor. You can copy out the configuration and paste in a new one. You are welcome to share your configuration here on the forums.
I have tried to include enough information in both the default dashboard and with these posts for you to create whatever dashboards you need - please let me know if you think that information could be improved.