I was thinking about the paper. If natural fiber insulation boards were used, and occupants wanted, or couldn’t control, high absolute humidity, then the condensing surface would temporarily be in touch with organic material anyway.
It’s probably not much different to having it embedded in the plaster. I’d have to research it more to be sure. Or it’s being overly concerned about a low risk factor.
That said, steaming off the old paper would make me feel more at easier. It’s a fairly satisfying low skill DIY job.
I don’t know enough about paints to know how to identify if it is our isn’t permeable.
I’ve been looking into sound isolation clip systems to replace the battens. They use light metal guage “hat” profiles, with rubber bushings to dampen sound through the long masonry screws. They distribute the load across the insulation well and help to dissipate the vibrations.
At the moment I don’t know what you’d do wrt air tightness through those penetrations though. I’m looking for a solution for a friend’s party wall sound proofing project.
You need to consider how much you’d be willing to lose in terms of the whole buildup of the assembly. How would that effect the rooms in question etc.
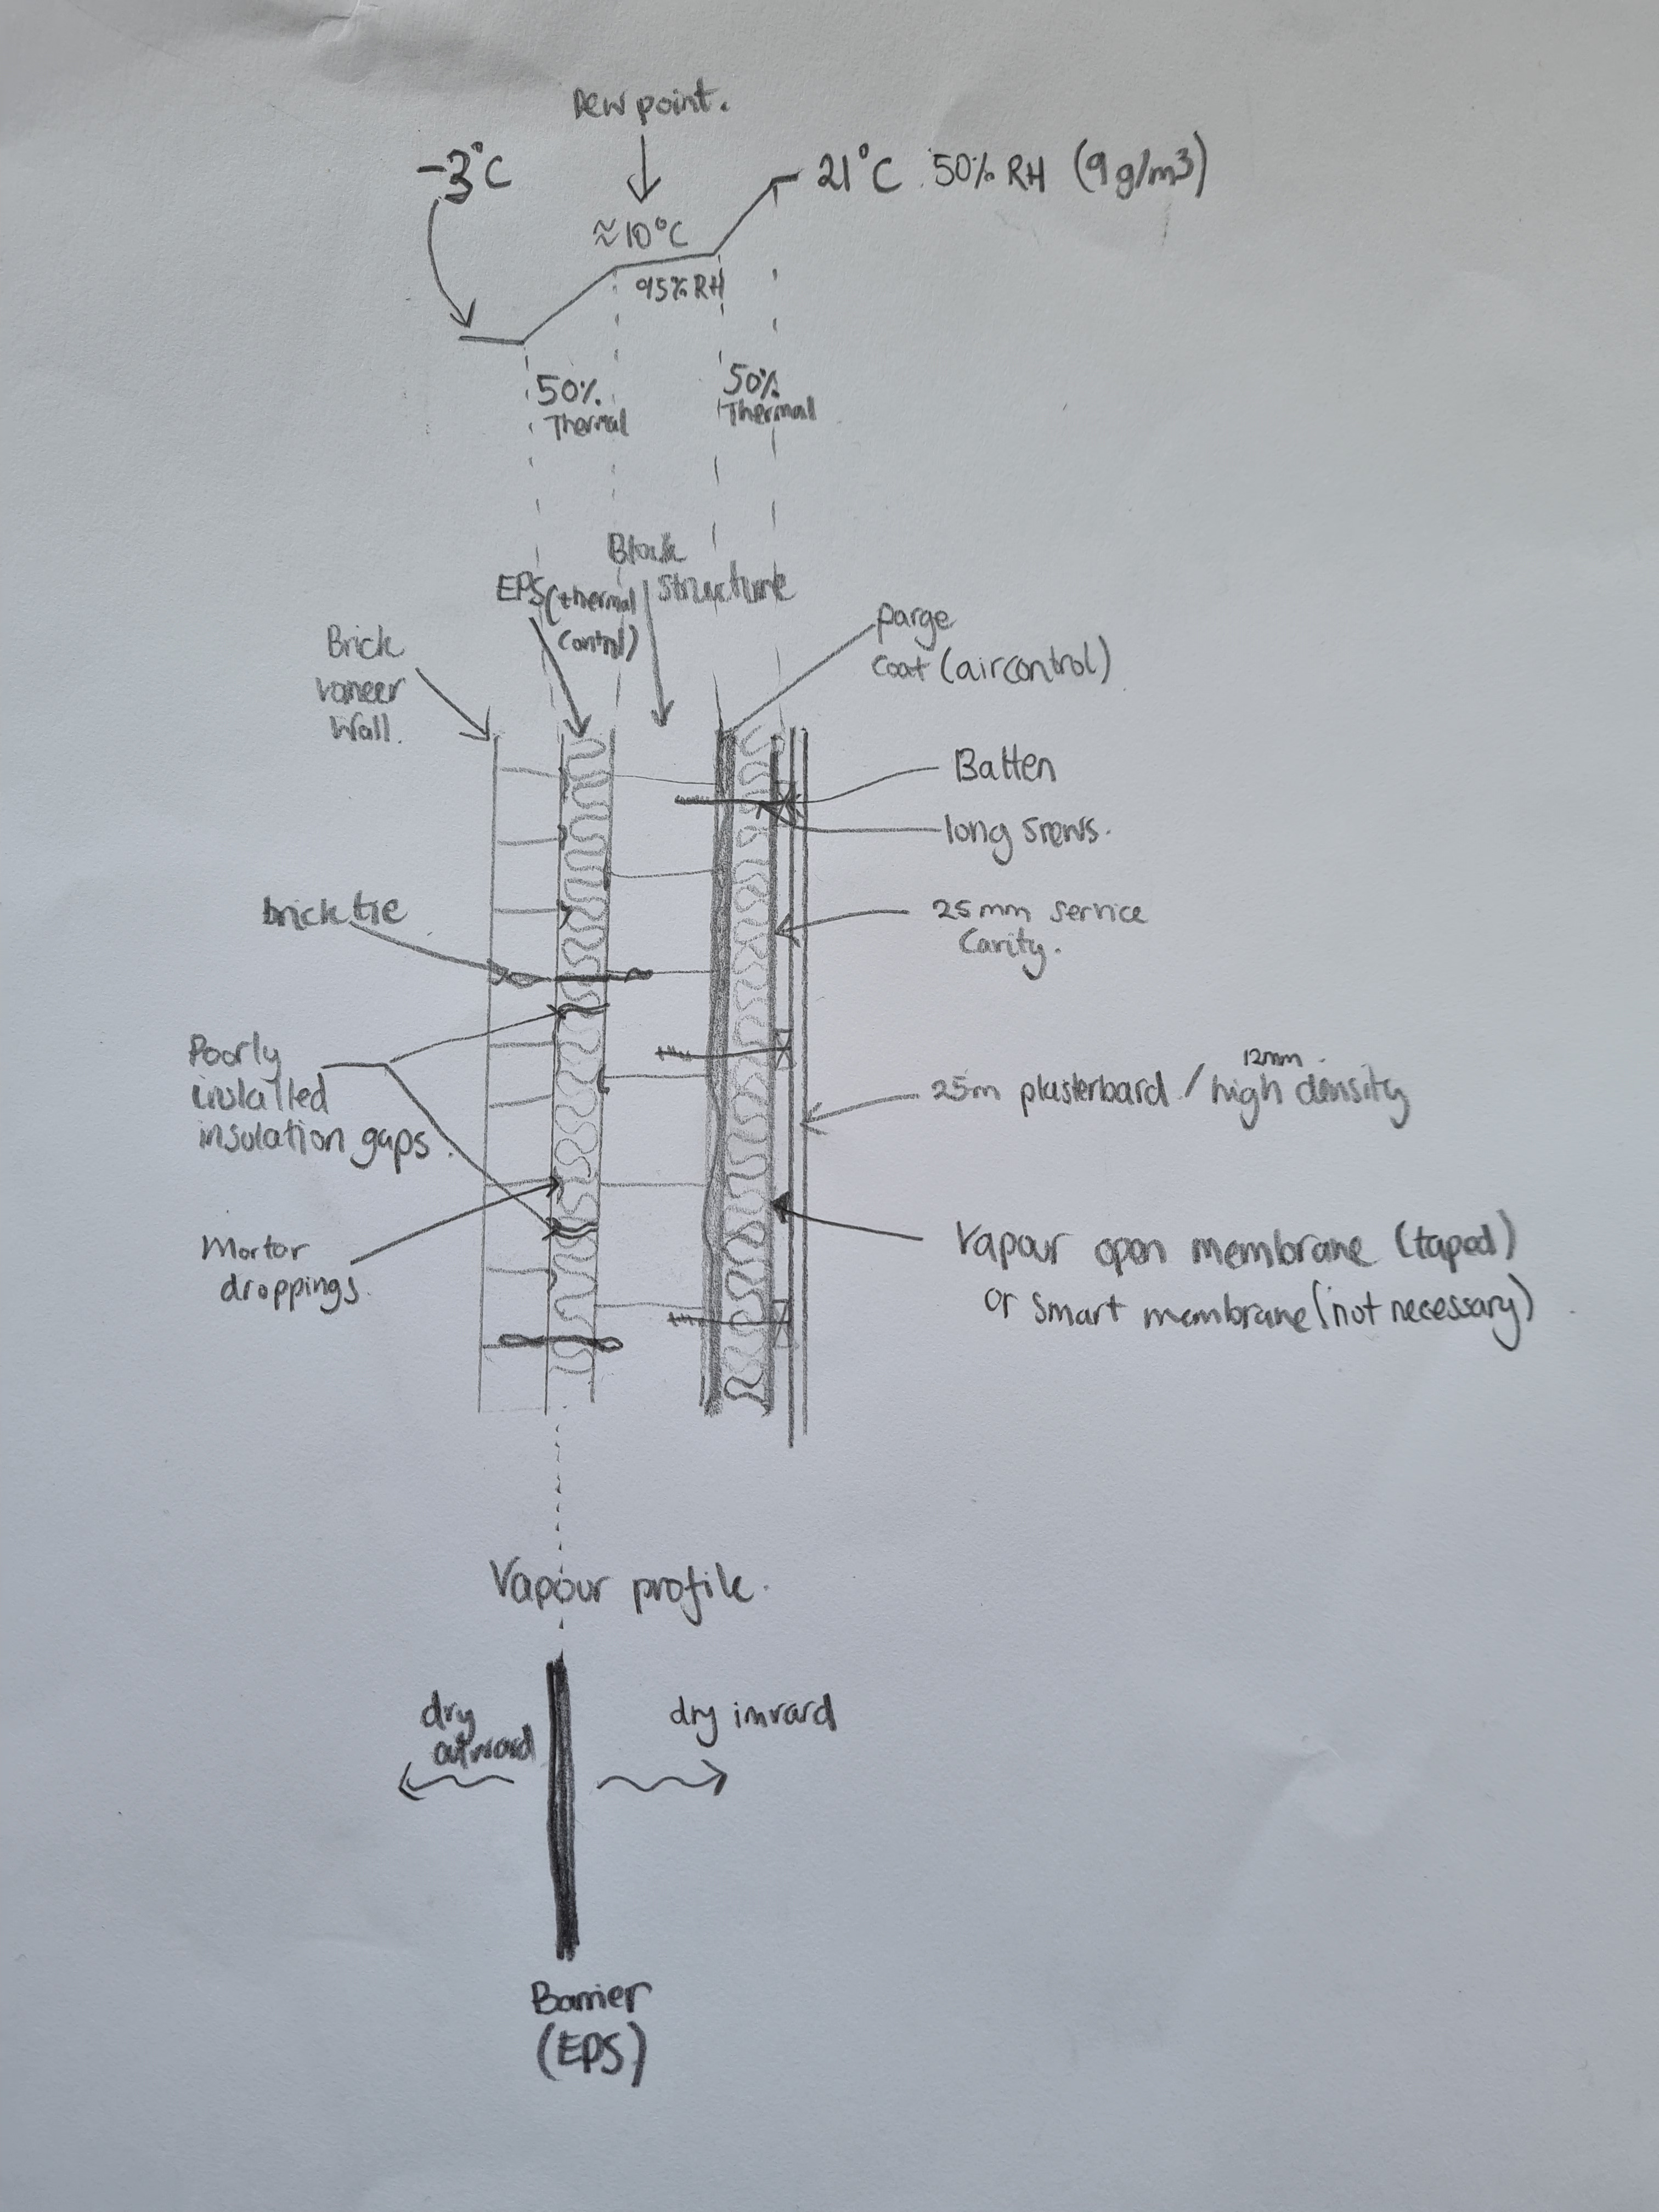
The order is minimal parge over old plaster striped of paper for adhesion, insulation, 50-100mm of insulation (two layers if wall is a bit wonky, offset horizontally and vertically), vapour open taped membrane system, battens fastened with air sealed masonry screws, high density plaster board fastened to the battens.
Since you have decided to go the IWI route you need to bear in mind the orientation of your floor joists when insulating the interstorey voids.
If the joists run front to back you are in luck. You need to parge behind the timber running parallel with the wall, fill the gap with insulation and further insulation to top up on the other side of the timber if needed. You also ought to conjure up a way to feed through the airtightness membrane to give continuity between storeys.
If the joists run the other way you will have the unenviable job, after parging, of air tightening where the joists enter the wall and then insulating between them
Those with suspended timber ground floors could consider doing the same thing in anticipation of contiguous floor and wall insulation in the future. If you do so, insulate at least 30cm below the floor or to the DPC, whichever is less.
DPCs and underfloor insulation is a whole new topic.
Ok. Thanks, both. Just for my own clarity, the suggestion seems to be, in order of installation,
remove paint [most of] from existing plaster - in case the paint is plastic-y
parge existing plaster
affix airtight, but vapour-open, membrane, using airtightness tape
affix high-density plasterboard, possibly in ~50mm vertical and ~50mm horizontal layer - that’s the main, insulating layer, because it’s of considerable thermal mass - using airtight screw fixings (v long!) into existing plaster/bricks
add battens, also using airtight screws
add service cavity by fixing to battens (‘regular’ screws), also using high-density plasterboard (for robustness of future fixings, I suppose, eg a framed picture or mirror.)
Have I got that right?
Calculate the thermal resistance of your cavity. You can safely put the equivalent of the mineral wool/natural fiber as IWI.
Going for more will be subject to how much space you have to lose, and how much of a safety factor you want.
If the CWI is installed averagely well then, considering the materials involved, you could go for a 25% CWI 75% IWI split.
Multiple layers is often done if the wall is not flat and if you’re going for +100mm of insulation.
The parge coat, insulation and membrane need to be thoroughly air tight. The service cavity and plaster board do not matter.
This is just the simplest build up. As mentioned, the complexity will be around floor joist, windows, party walls, moving existing services etc. In essence, creating continuous layers.
Ermm yes, thanks… I should mention that this gable-end wall is the hall-and-landing wall, and has the stairs running up it, embedded, of course, in the inside-leaf wall …presumably v difficult re joins with same. And, under the stairs, the wall is stuffed with electrical items, PV inverter, elec meter, hefty mains-fuse, and consumer-unit - none of which I would wish to have removed-and-reinstalled. (Or could I consider putting the under-stairs space outside of the cpnditioned envelope, by massively insulating the entire compartment, and fitting a hefty door?)
I think you are back to EWI. See how things are after the CWI has been topped up and consider your options then.
It isn’t practical to thermally isolate the under stairs from the rest of the house. You are subtracting, say, 1m^2 from the floor area and increasing the thermal envelope by, say, 3.5m^2 and without any continuity of insulation.
Thought (one of) you might say that! Yes I’m leaning back towards EWI, with internal airtightening, maybe via ~2cm wet plastering or membrane. Roof overhang is only 100mm, I think, so probably need some sort of extending of that.
Extending the roof above a gable end is relatively simple, and therefore relatively inexpensive. Extending the pitched sides is far more complex and only practical for a detached house or where neighbours are in it together.
The cost is mainly labour and scaffolding, so take full advantage and extend a good 200mm. That will keep an overhang after insulating.
…just realised another thing - our ‘gable-end’ is in fact a pitched roof, ie our semi-d. has 3 pitched/sloping roof-surfaces (as does our neighbours’ adjoining property); so, that makes EWI more awkward and expensive?
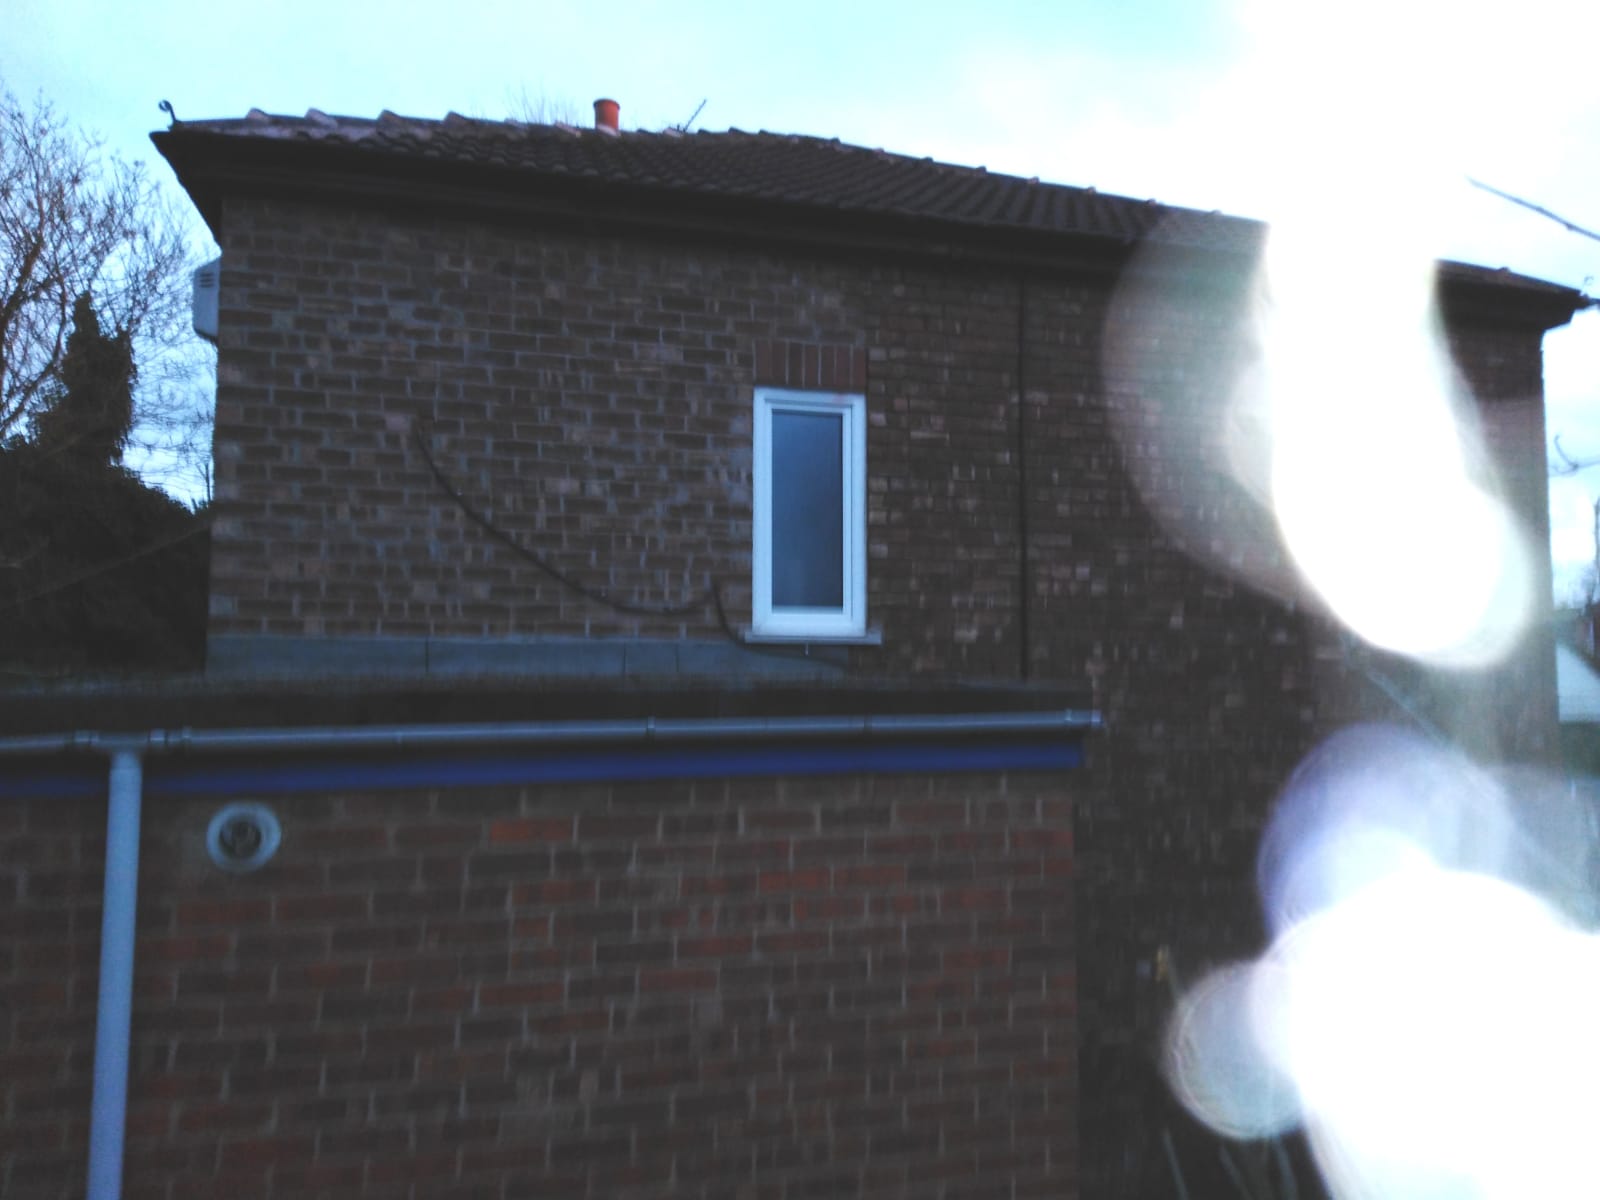
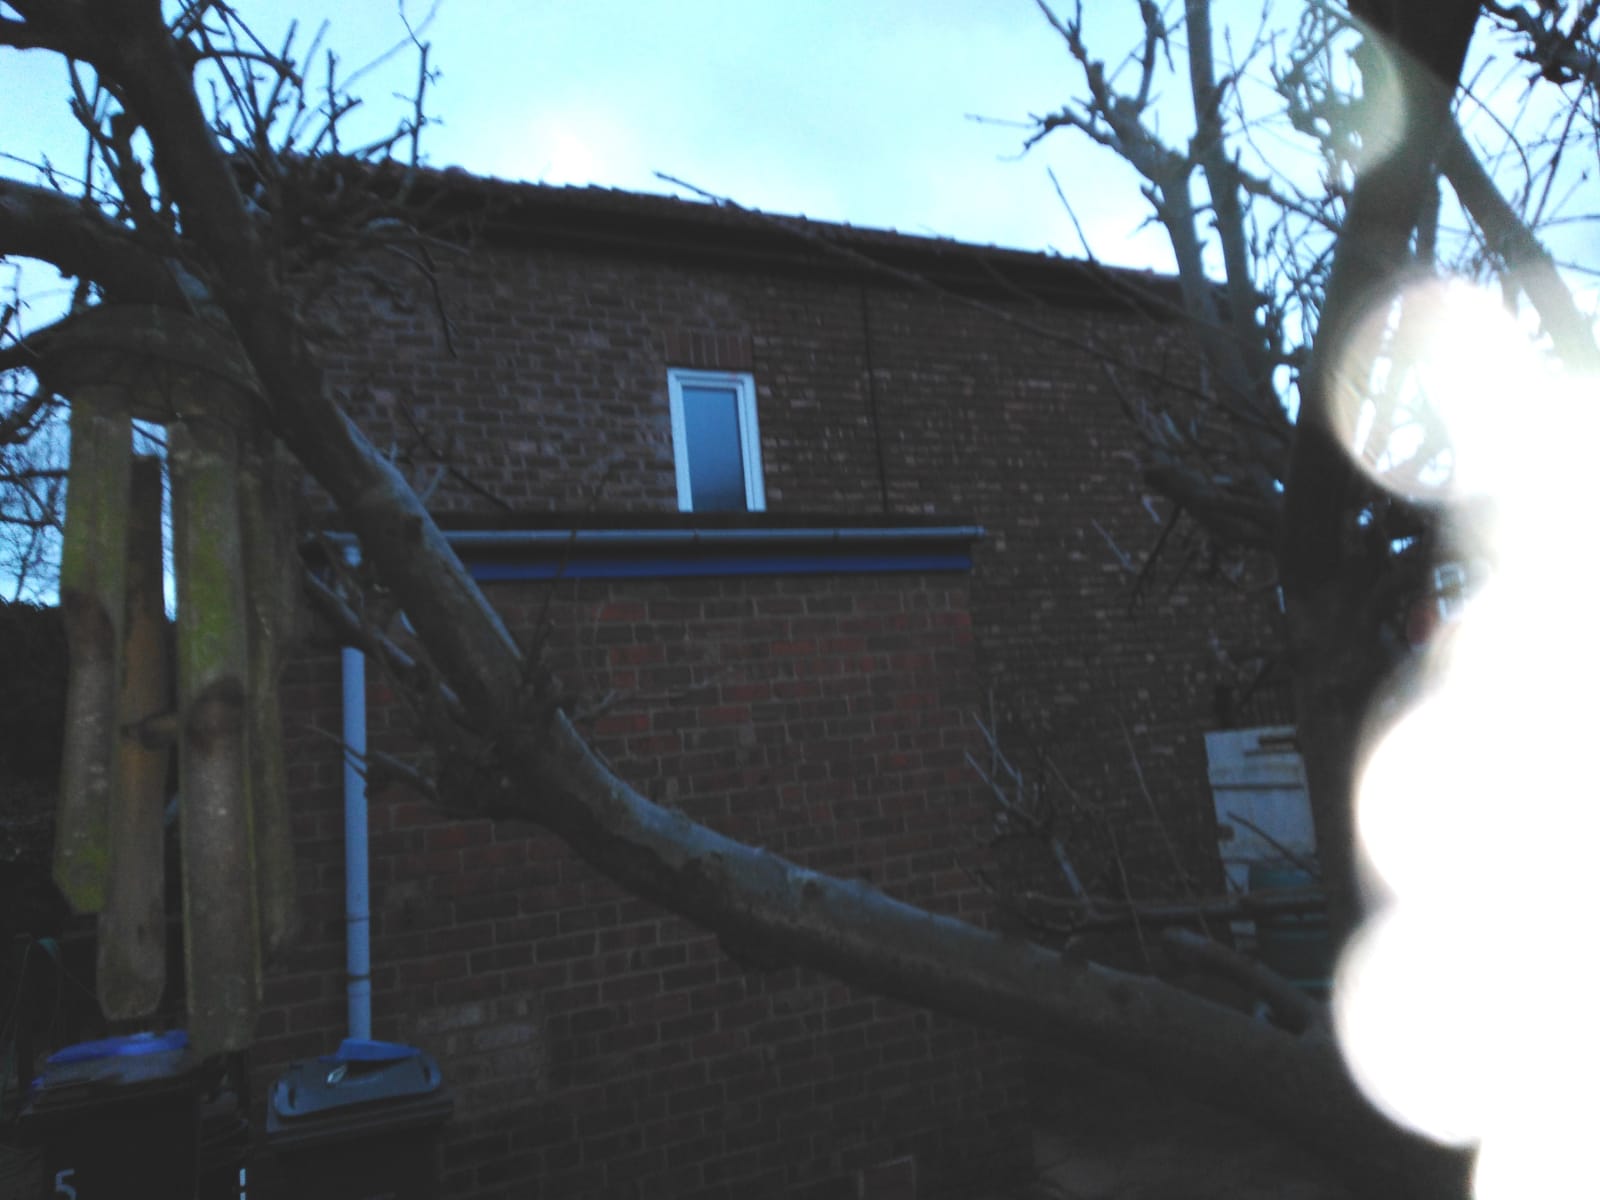
Hi Tim. Poor photos, but you can probably see the pitched roof on the gable end; also, the flat-roof kitchen extension, to lower-left of pic, with its down-pipe. (I haven’t mentioned that before!) The down-pipe from the main gable-end guttering is around the corner, on the wall (not clearly visible) to the left.
Ok, that isn’t called a “gable end”. Those have a pointed “house” profile. You have a hipped roof and end wall.
This does simplify one task anyway, deciding how high you need to insulate. It seriously complicates extending the eves as you currently have combined drainage around the perimeter of the roof. Technically it is possible but it would need planning permission which will not be granted. If you go for it you will need to consider where to put a new soak away for the new end down pipe.
Your insulation needs to be limited in depth to fit under the existing overhang and up to touch the roofing felt/membrane minus 1cm for ventilation.
The insulation of the ground floor extension could be thicker. You just need a new, well insulated, roof big enough! The wall and roof insulation need a full abutment.
Ok. Thanks. The existing overhang is about 120mm, out to edge of the fascia/bargeboard (I think it’s called), ie the board the guttering is fixed to; so, I could add 80mm- 90mm of EWI, plus 15- 20mm rendering… not sure about the effectiveness.
I’d be reluctant to replace the flat roof on the extension, it’s only about 12yrs old…
A bargeboard is the edging for a gable end. The gutter is fixed to the gutter board. The soffit and gutter board will need to be removed to fit the insulation up to roofing membrane height -1cm and then the gutter board and guttering replaced to overlap the new render. This reduces the likelihood of driven rain or melting snow getting into the insulation around the top of the render. The maximum depth of insulation + render is the width of your soffit minus a millimetre or so for clearance.